Blender is an amazing FREE open source 3D tool.
You can use Blender to create, rig and animate 3D models. You can use it to set up complex build particle systems for exciting VFX. You can run fluid, cloth or physics simulations and much, much more. In this tutorial I want to show you how to use the basic modelling capabilities of Blender to create a treasure chest.
The easiest way to model in Blender is to reshape some basic geometry. In order to reshape objects in Blender, you need to enter Edit Mode. Simply select your object and press TAB. In Edit Mode, you can switch between Vertex Select, Edge Select or Face Select modes with the keyboard shortcut CTRL+TAB. You can also select them from the header in the 3D view.
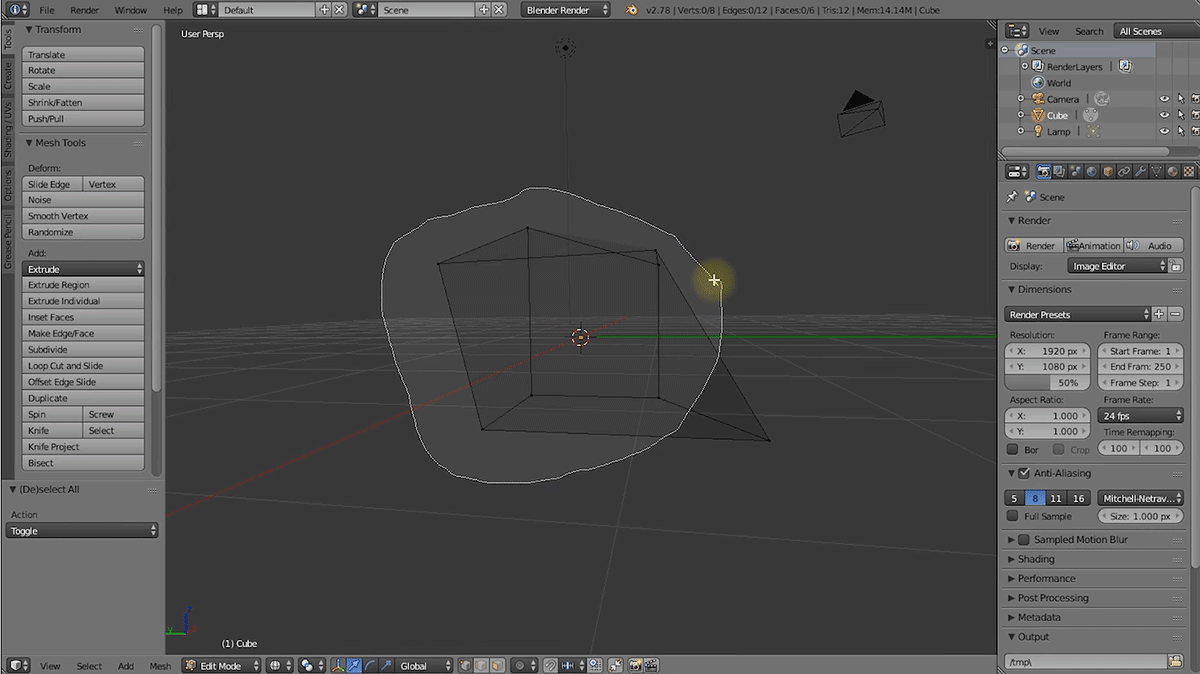
You can toggle wireframe mode on with the keyboard shortcut Z. If you hold down CTRL and drag with your left mouse button, you can draw a lasso selection around any vertices, edges or faces you want to select.
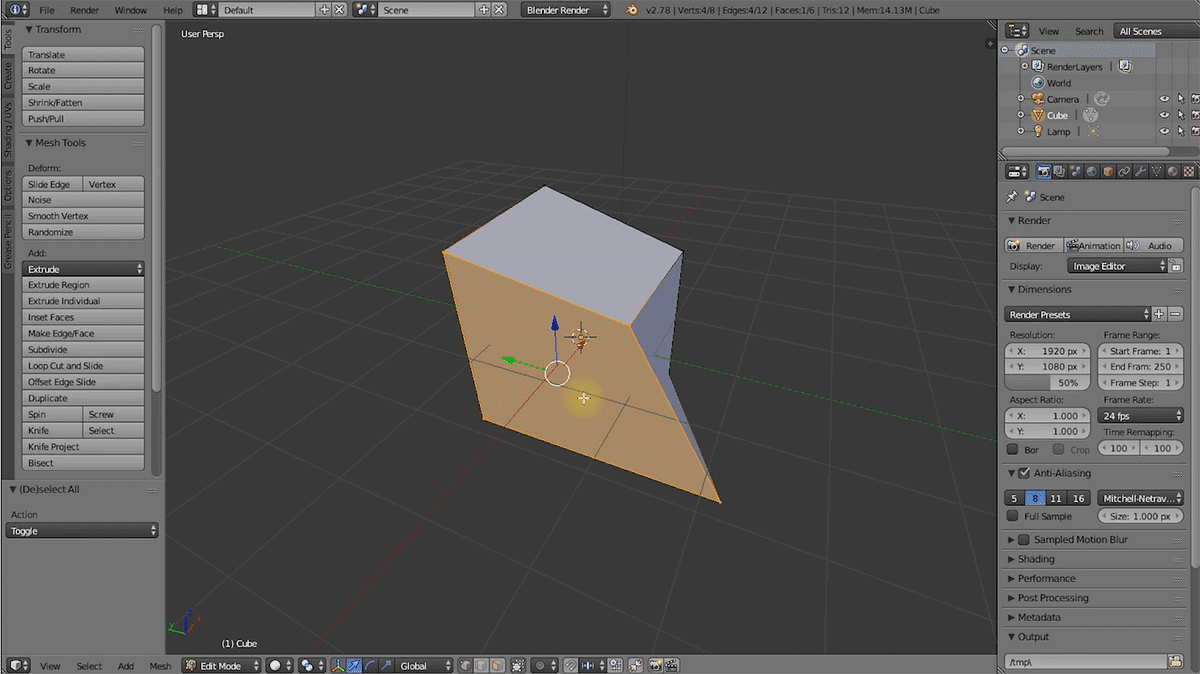
If you select a face and press I, you will inset the face. Move you mouse and confirm with a left mouse button click to inset the face.
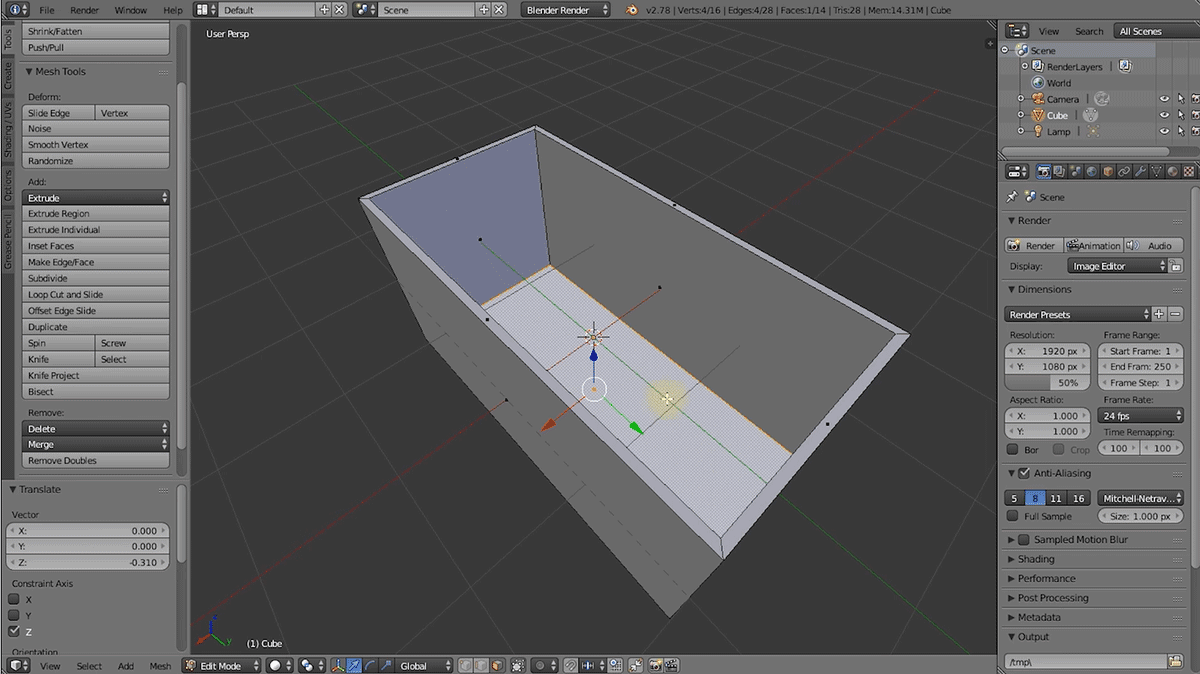
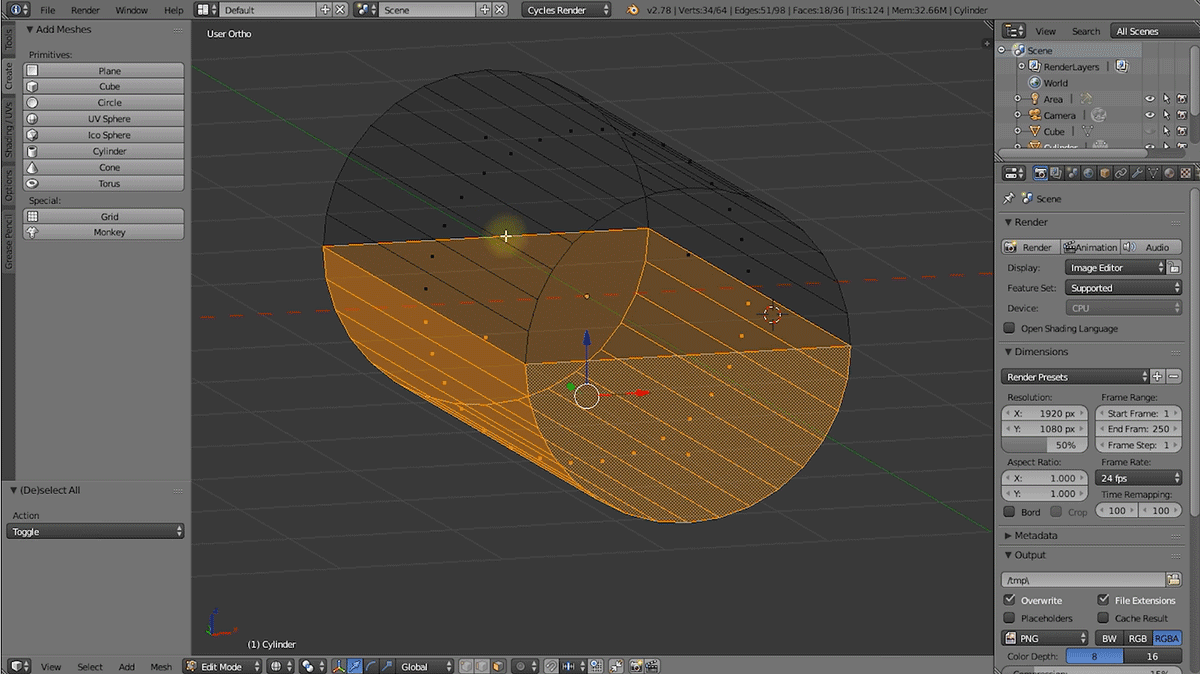
If you select one face and press E, you will extrude the face. You can also select multiple faces and extrude them simultaneously. Pressing ALT+E with faces selected will bring up different options for extruding Regions, Individual Faces or extruding along the vertex normals.
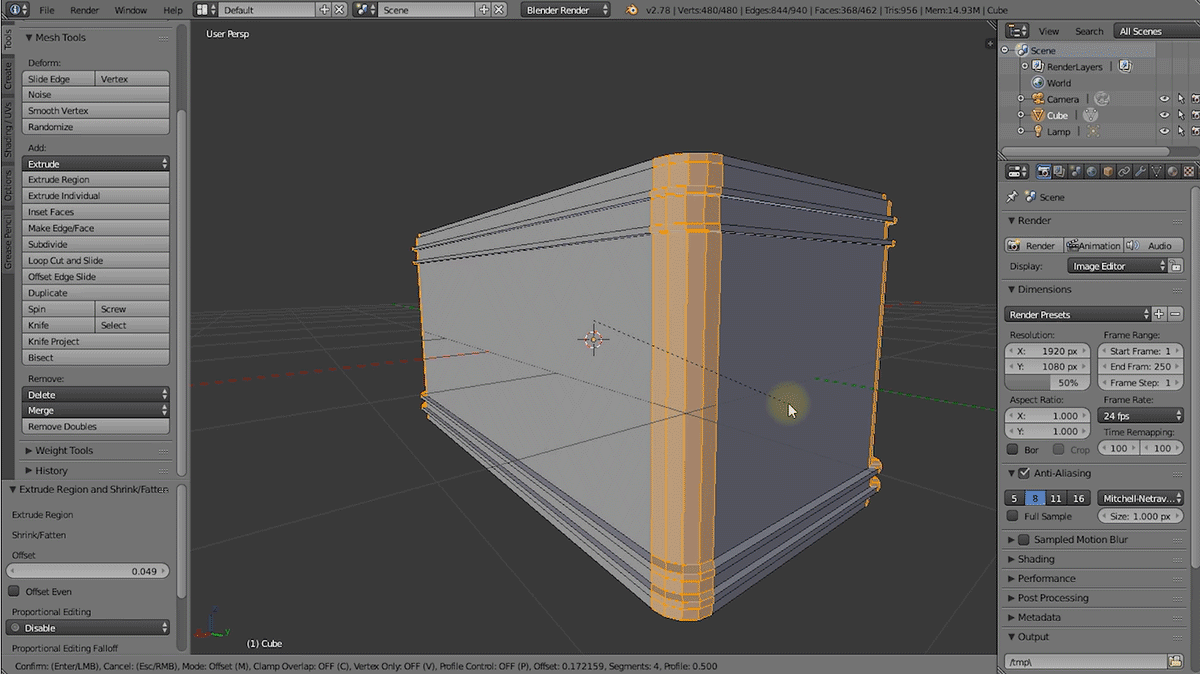
If you have an edge loop selected (ALT + right click on an edge in Edge Select mode), you can press CTRL+B to bevel the edge. You can move the mouse to determine the size of the bevel. Scrolling up/down on the mouse wheel will increase and decrease the number of segments. Click left to confirm.
Pressing K will enable the Knife tool. This will allow you to cut faces from one vertex to another. For clean animations it is preferable that all your faces are quads (polygons with 4 vertices). You can use the Knife tool to fix up issues with your topology (the structure of your mesh). You can also select two vertices along the same face and press ‘J’ to join them with a new edge.
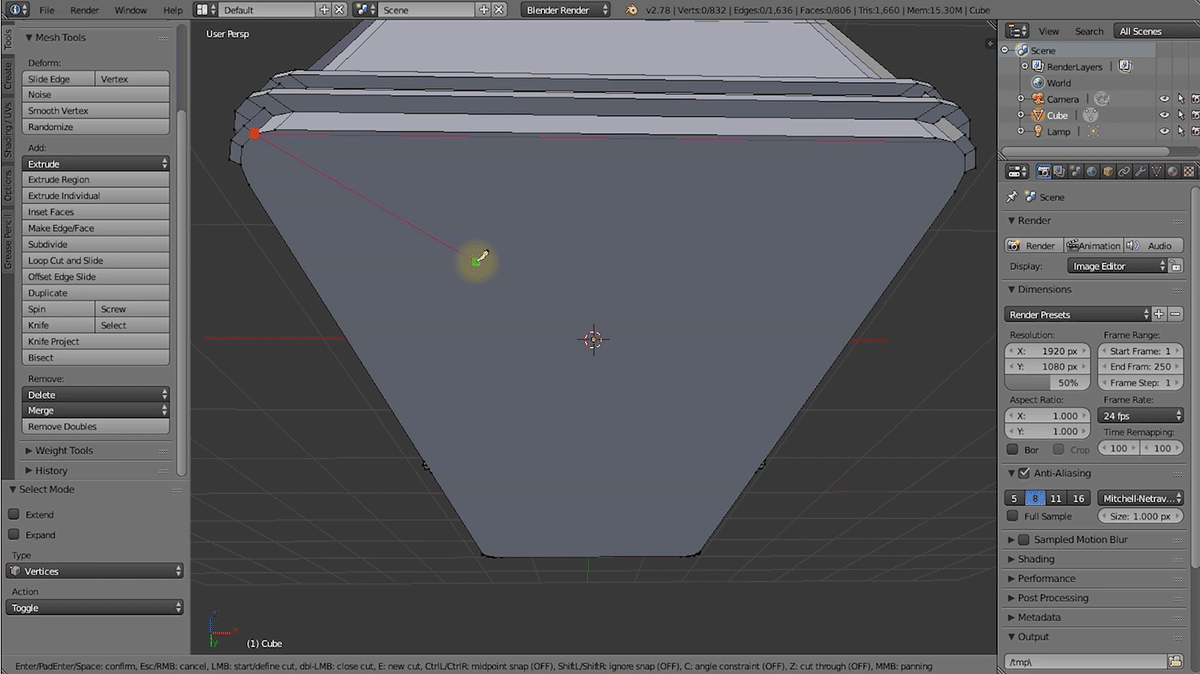
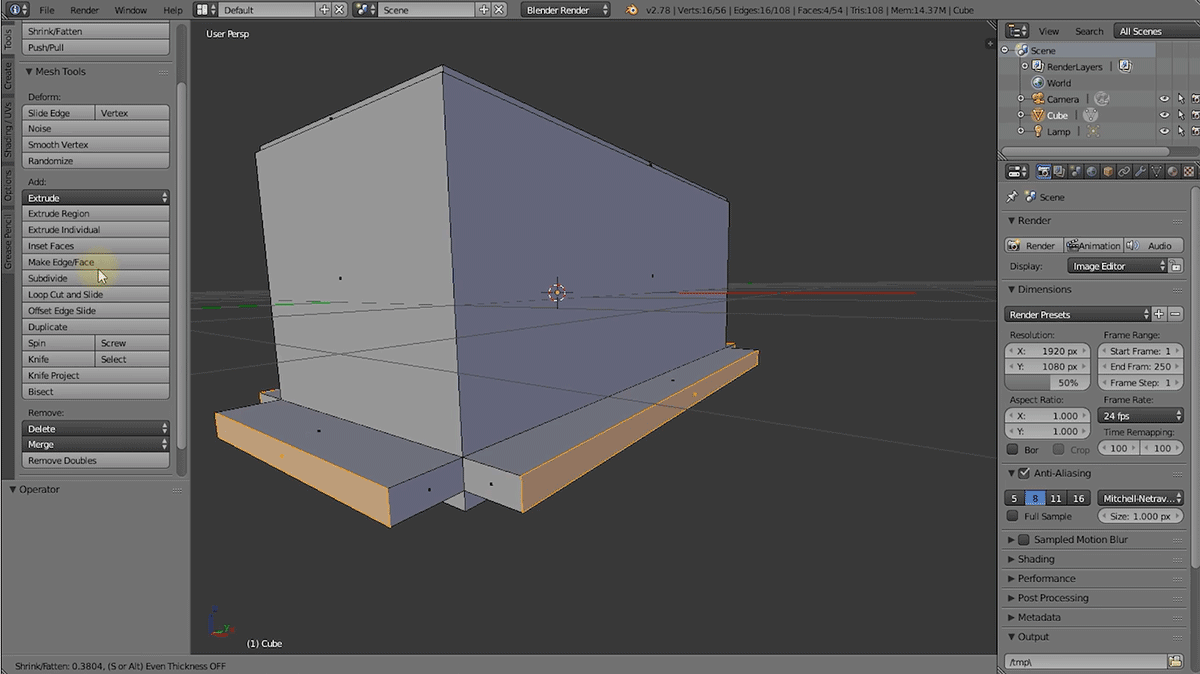
With these basic tools and being able to select and modify as well as delete vertices, edges and faces you can model almost anything you want. Here is a screenshot of me modelling the lid of the treasure chest. I am in vertex mode and using Orthographic (flat) Projection to be able to see the geometry better.
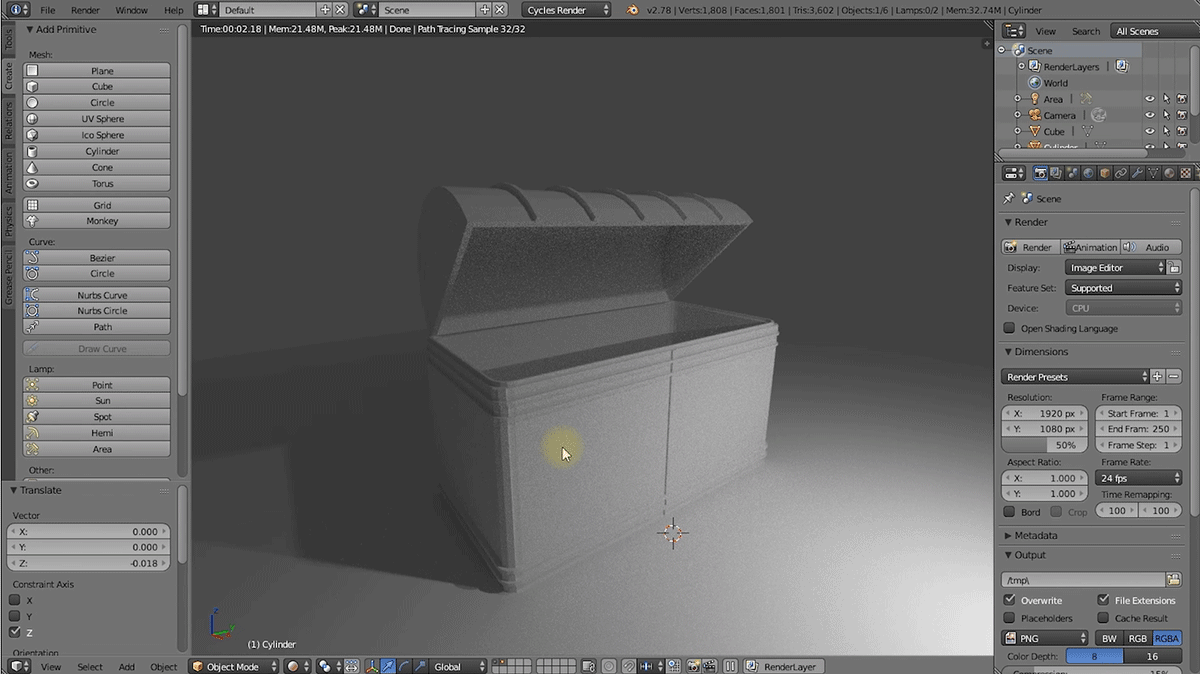
Once you are done with your model, it is time to render it out. Check out my Blender For Absolute Beginners tutorial if you do not know how to render in Blender. Here is what the final rendered treasure chest looks like.
Please let me know what you think of this tutorial! All comments, questions and feedback welcome


2 Responses
Thanks.
Can i learn from you freely,Please!
Check out all the of free tutorials I have on my YouTube Channel :)