It’s hard to become an expert at any software program without mastering at least the fundamental keyboard shortcuts.
Adobe After Effects is no different. Every shortcut you learn can save you valuable time and the more you use them, the more efficient your workflow will become.
In this article I want to share with you the most useful After Effects keyboard shortcuts as well as some tips and tricks on how to get the most out of them.
But first, here’s the quick list. Note: all shortcuts listed are for Windows. If you are working on a Mac, use the Command key instead of CTRL and use the Option key instead of ALT.
| Shortcut | Function | Notes |
|---|---|---|
| V, H, Z, W | Switch between Move (V), Hand (H), Zoom (Z) and Rotate (W) modes | |
| Page Up / Page Down (Command + Right / Left arrows on Mac) | Go to Previous / Next frame | Hold down SHIFT to jump by 10 frames back or forward |
| CTRL + D | Duplicate selected layers | Need at least one layer selected |
| CTRL + SHIFT + C | Pre-compose selected layers | Need at least one layer selected |
| P, S, R, T, M | Reveal Position (P), Scale (S), Rotation (R), Opacity (T) or Masks (M) on selected layers | Need at least one layer selected |
| ALT + [ / ALT + ] | Trim selected layer start (ALT + [) or end (ALT + ]) | Layer will be trimmed to current timeline indicator position |
| U / UU | Reveal keyframes on selected layer (U). Pressing U twice will also reveal properties with expressions | |
| J / K | Jump to previous (J) or next (K) keyframe | This command will take all currently revealed keyframes into account |
| ALT + / | Zoom preview window to FIT | |
| CTRL + SHIFT + Y | Open layer settings | Need single layer selected |
| B / N | Mark beginning (B) or end (N) of working area within composition | Will set beginning or end markers to current timeline indicator position |
| CTRL + M | Add current composition to render queue | Need to have a composition opened |
| Space | Playback / Pause | I know this one is basic, but it felt weird not to have probably the most common shortcut in this list |
If the defaults are not your thing, let’s talk about how you can customise your keyboard shortcuts.
After that, I’ll show you a few cool external control surfaces and custom keyboards for Adobe After Effects if you’re after something even more hardcore. And finally, I’ll talk about my personal favourites and when, why and how to use them to maximum effect.
Learn After Effects for FREE with my Easy Beginner Course 😊

How to Customise Keyboard Shortcuts in Adobe After Effects
If you’re just starting out I’d recommend to not customise the keyboard shortcuts in Adobe After Effects. Instead, try to get used to the defaults. Why?
Most tutorials you find online, including mine, use the default keyboard shortcuts. Therefore having your shortcuts set up the same way can make following online tutorials a lot easier. However, if you just can’t stand the defaults or your fingers just don’t bend that way, here’s how you can customise the keyboard shortcuts in Adobe After Effects.
Simply select Edit -> Keyboard Shortcuts from the main menu. Or, keeping with the spirit of this article, simply press CTRL + ALT + ‘
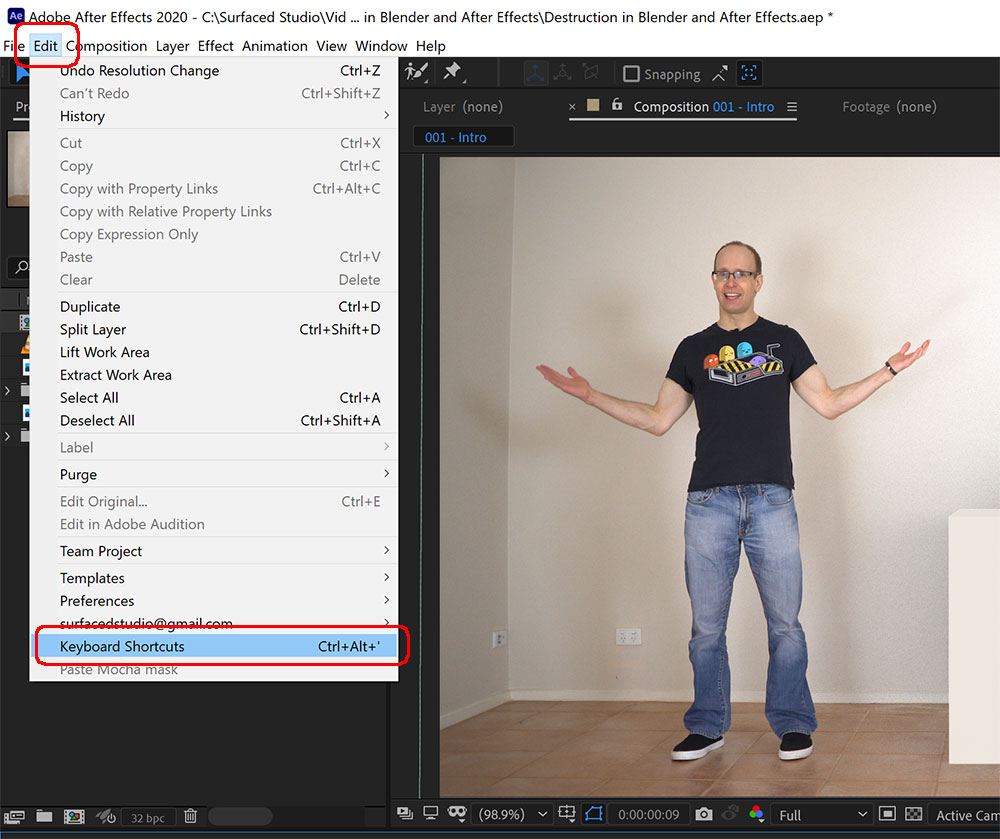
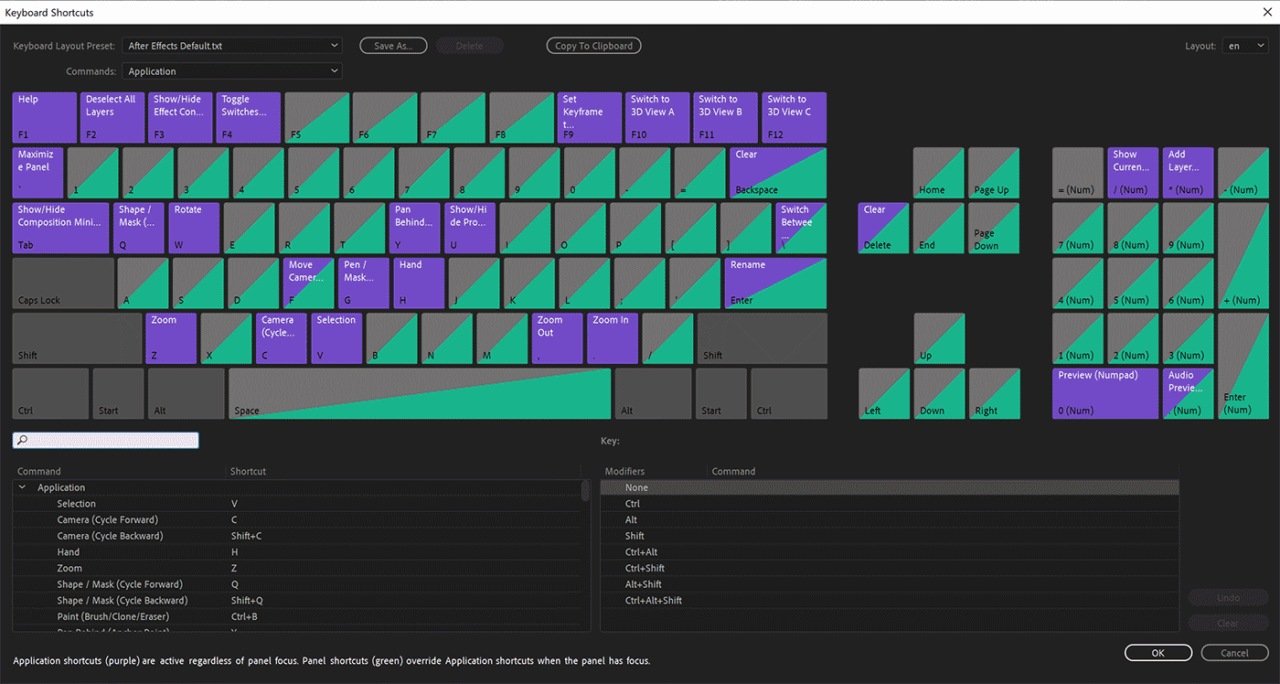
This will open the Keyboard Shortcuts map in Adobe After Effects. Note that this window might look different depending on the version of After Effects you are using. However, it should function mostly the same across all versions.
In here you can add, delete or change any keyboard shortcuts and assign all essential program functions to the keys that you find most comfortable.
And if that’s still not enough, you can take it one step further with custom keyboards, keyboard covers and control surfaces.
Custom After Effects Keyboards and Control Surfaces
Over the years a number of different external control surfaces for video editing professionals have popped up on the market. Some of them are specific to Adobe After Effects. Others are built to be generic and will work with After Effects, Premiere Pro, Photoshop, Lightroom, Final Cut and more.
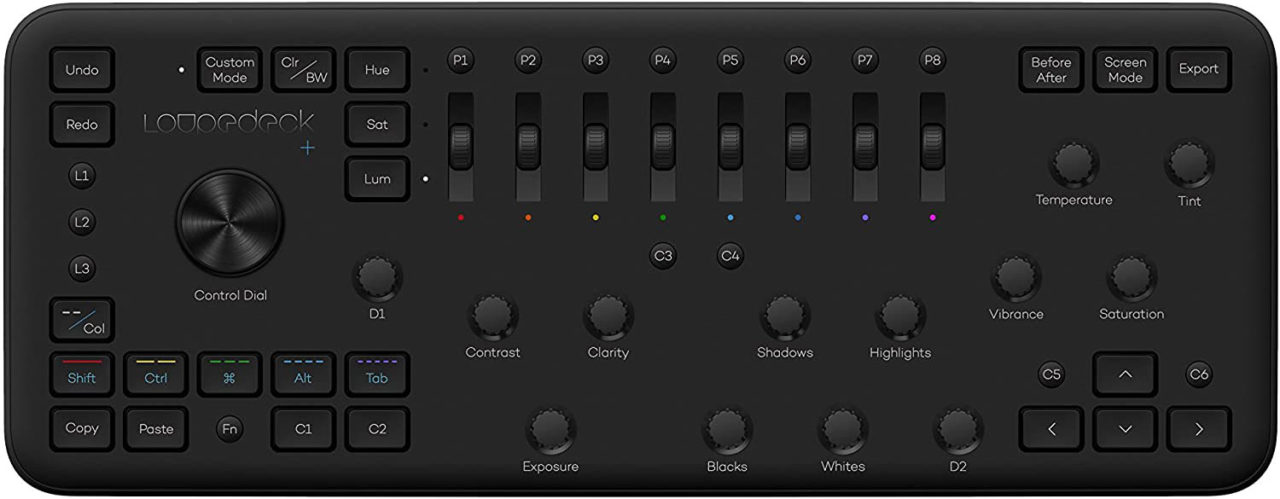
One of the most popular ones I’ve seen around is the Loupedeck+. While it doesn’t allow you to fully customise every rotary knob or slider, it brings the most common controls of all of these programs closer to your fingertips.
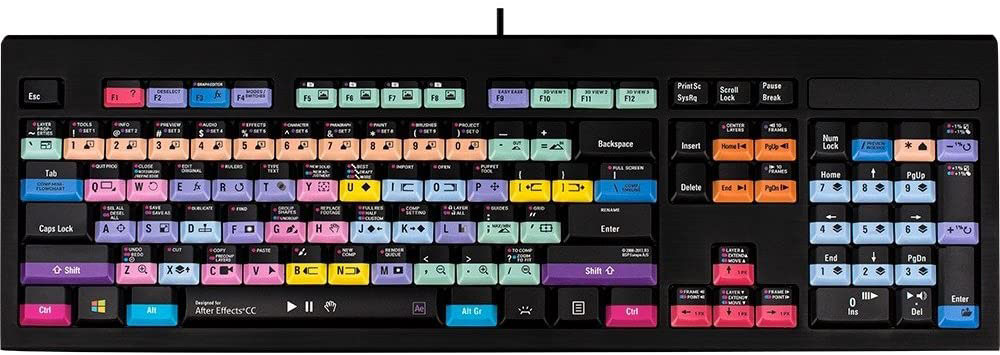
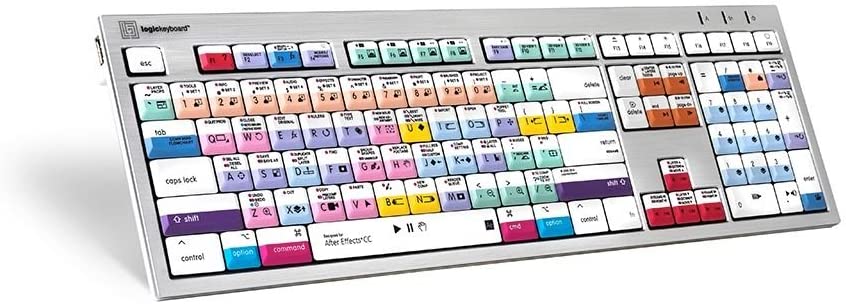
Instead of using a separate control surface you can also get keyboards that have the shortcut keys for specific programs printed on the surface. This can help you easily remember, find and use the most common shortcut keys to speed up your workflow.
The Logickeyboard is one of the most popular custom keyboards for video professionals. It comes in lots of different variants depending on your needs.
There are versions for Windows or for Mac. There are variants for After Effects, Premiere Pro, Blender, Maya, Final Cut, DaVinci Resolve, Pro Tools, Cubase, Audition and many, many more.
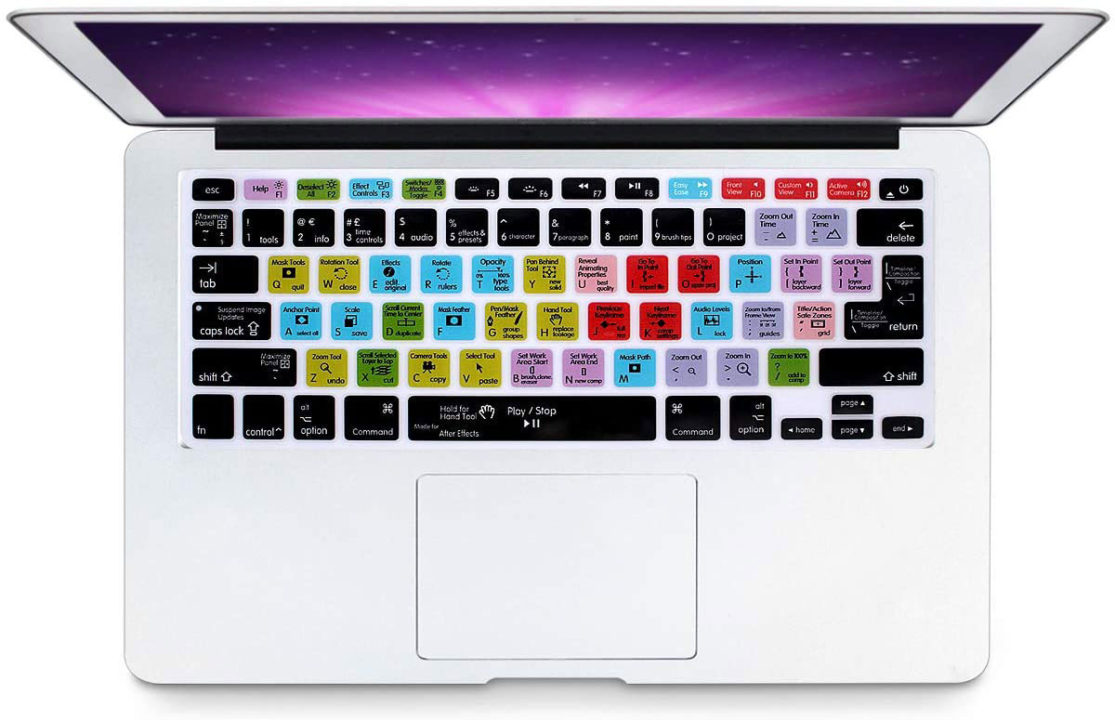
If you’re not quite ready to purchase a separate keyboard or control surface, you can also get keyboard covers for your Windows or your Mac machine.
These covers simply overlay your existing keyboard and add keyboard shortcut information directly underneath your fingertips. You can easily change them as you swap programs and they’re not too costly in case your favourite program decides to change its keyboard shortcuts with the latest version.
The Best Keyboard Shortcuts for Adobe After Effects
Everyone has different favourites. That’s alright, everyone also likes different foods and there’s nothing wrong with that. Here are the ones that my fingers reach for the most and the ones that I feel save me the most time for my work with Adobe After Effects.
Quickly switching between Move / Hand / Zoom / Rotate Modes
While working with layers, you will constantly have to move, scale and rotate them to position them exactly where you want them to be. The biggest time saver for me is using the keyboard shortcuts V (Move), Z (Zoom) and W (Rotate) to quickly toggle between the different edit modes.
You can press H to get to the hand tool so you can drag your composition around in the preview window. However, I prefer to simply hold down Space and left-click drag or middle-mouse-click drag in the preview window move around my composition easily without changing the mode I’m currently in.
Show or Hide Layer Properties
When you’re working with layers you will have to constantly access their properties to modify them. You can do that by clicking on the little chevron › next to the layer name. then you have to click the chevron › next to Transform or next to Effects or any other property group that contains your property.
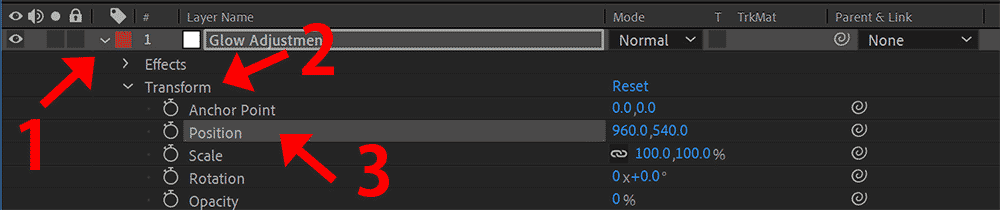
Fortunately, After Effects has some helpful shortcut to quickly reveal (or hide) common properties on your layers. Simply select your layer(s) and press P (Position), S (Scale), R (Rotation), T (Opacity) or M (Masks) to immediately reveal these properties.
By default, this keyboard shortcut will reveal only the selected property and collapse all other currently visible ones. To add a new property to the list of already visible ones, hold down SHIFT when using these shortcuts.
Move to Next / Previous Frame
I often want to preview a specific time in my composition. For that you could click and drag the timeline cursor to the desired position. However, especially when you only want to move a few frames back or forth, that seems like a lot of effort.
I prefer to use the Page Down / Page Up keys to move forward or backward a single frame quickly and precisely. You can also hold down the SHIFT key to jump 10 frames forward or backward. Note that on a Mac, the shortcut key is Command + Left / Right Arrow.
Duplicate Selected Layers
When working with visual effects or motion graphics, I often need to duplicate my layers. Often many times over. While you can go into the menu and select Edit -> Duplicate, a much quicker way is to simply select the layers you want to duplicate and press CTRL + D. Press them again for another copy. Super simple, super useful!
Pre-Compose Selected Layers
If you’re creating anything beyond the most simplistic composition in Adobe After Effects, you will have to pre-compose your layers. You could go into the main menu and select Layer -> Pre-Compose to do this. However, this is such a common task that I much prefer the keyboard shortcut. Simply select the layer(s) you want and use CTRL + SHIFT + C to bring up the Pre-Compose dialog.
Reveal Keyframed Properties
Once you start adding animation and keyframes to your layers, things can get a bit crammed in your timeline view. You may collapse your layers to make some more space, but then you might find yourself searching for the keyframes every time you need to tweak them.
One of the shortcuts I use all the time is U or UU. Pressing U will reveal all properties on the currently selected layers that have keyframes applied to them. Pressing UU (press U twice) will also reveal properties with expressions.
Go to Next / Previous Keyframe
Sometimes it can be a bit tedious to reposition the timeline indicator directly on a keyframe with your mouse. Fortunately you can use the J and K keyboard shortcuts to immediately jump to the next visible keyframe. Note that this command will take all currently visible keyframes into account.
Zoom Preview Window To 100%
Sometimes, after you worked on a small detail all the way zoomed in, you want to return to a 100% view of your composition. While you can use the dropdown box at the bottom of the preview window, a much quicker way is to press ALT + / to reset the preview window to 100% (fit) zoom.
Open Layer Settings
If you’re working with a lot of Solid layers, this one is really handy. You can access the layer settings for the selected layer by going to the main menu and then choosing Layer -> Settings. A much quicker way is to use the CTRL + SHIFT + Y keyboard shortcut.
Add Current Comp To Render Queue
Once you’re done with your composition you want to add it to the render queue to export your finished masterpiece. I always like to use the keyboard shortcut CTRL + M to add the currently open composition to the render queue.
However, After Effects’ export abilities have been cut down severely in version 2018. Therefore I now prefer to use the shortcut CTRL + ALT + M to add the composition to the Adobe Media Encoder queue instead. Adobe Media Encoder comes included with the Adobe Creative Cloud and supports a lot of video codec and formats that have since disappeared from Adobe After Effects.
If you haven’t yet switched to using Adobe Media Encoder, I highly recommend you do. Here’s a quick beginner tutorial if you’re interested:
Learning keyboard shortcuts can be a huge time saver. Everyone will adopt a different set of favourites and customise them to best suit their personal workflow.
What are your favourite keyboard shortcuts for Adobe After Effects, and why?
Leave your comments, feedback or rants down below!


5 Responses
thanks for sharing a best collection of software, books, accessories, and much more.. please updated tutorials of hitfllim pro, ae and premeire pro please soon. thanks for supported
simple and useful. Thanks :)
command M just minimizes the window
It’s CTRL+ALT+M on Windows. Was missing the ALT in my table. Fixed now :)
To go to the next frame it’s CTRL+right or CTRL+left, i don’t know why always people don’t pay attention to the context, every shortcut you tell, you have to indicate what context should people select (click), additionally to the shortcut, if you’re selecting something else other than the timeline this shortcut might not work