3D integration VFX has long been an item on my tutorial plan, but it took a considerable amount of time to plan it out properly and finally get started :)
Since the topic of 3D integration is rather complex, I decided to break this tutorial up into a number of parts and today I will start by covering the theory of 3D integration.
What is 3D Integration?
3D integration is a technique used for combining real live footage with virtual elements that were created, animated and rendered inside a 3D program.
Most modern television shows and films contain some sort of 3D integration effects, but depending on how well they are done, you may not even notice :)
3D integration is a complicated process, but can be used to create anything you can possibly imagine: from super slow motion 3D bullets to alien planets or strange creatures tearing down entire cities! If you can imagine it you can – theoretically – create the effect :)
What Tools Do I Need?
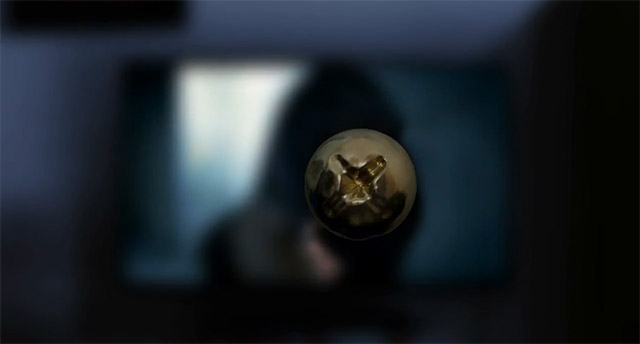
The main obstacle for many people to create 3D integration effects is that you need to know a 3D program like 3D Studio Max, Maya or Cinema 4D. You also need to be a fairly competent user of the program, otherwise you might struggle with setting up the scene or rendering the individual passes you may require for a realistic composite.
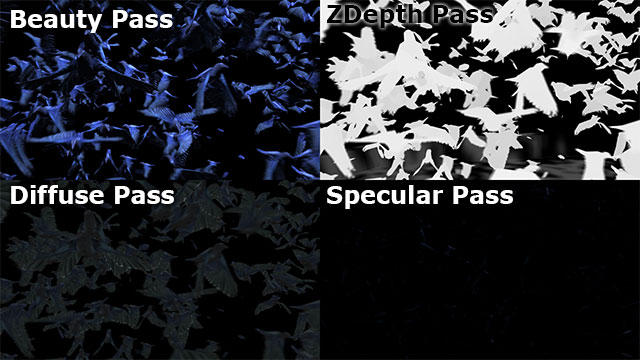
I myself have grown up using 3dsMax and – with the help of my brother Nils and some online tutorials – managed to complete all the steps involved in setting up a scene, pFlow particle systems and rendering everything piece by piece using the vRay renderer plug-in.
However, creating the 3D scene is just one part of a longer process to realistic looking 3D integration VFX that includes the following steps:
Step 1: The Shoot
You have to film your scene with the visual effect in mind and for 3D integration this is even more important, because your virtual elements will have to fit realistically into your scene. This means your actors may have to interact with elements that don’t actually exist or you may have to use special effects to trigger impact or splatter effects for an alien creature you want to add to your scene later.

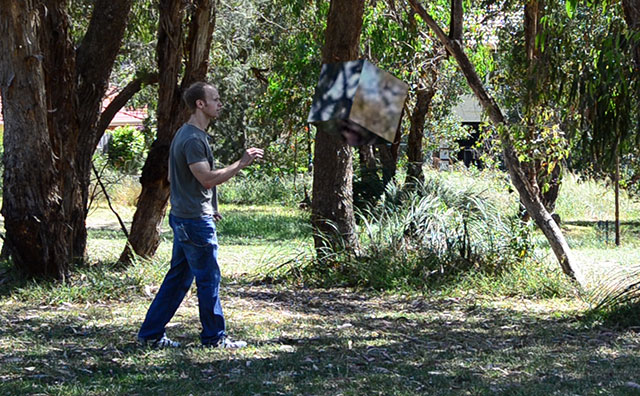
Also, you will have to be mindful of the fact that you will need to be able to track your camera and rebuild your scene in a 3D program as precisely as possible. This means you have to record additional data like camera settings and scene measurements and deal with lights, shadows and reflective surfaces.
Step 2: 3D Camera Tracking
Once you filmed the footage, you will have to track the footage if your shot includes a moving camera. 3D camera tracking is used to reverse-engineer the position and movement of the camera from the recorded footage.
The camera data from this step is then exported to your 3D program so you can set up a virtual camera that matches the movement of the camera used to film your scene.
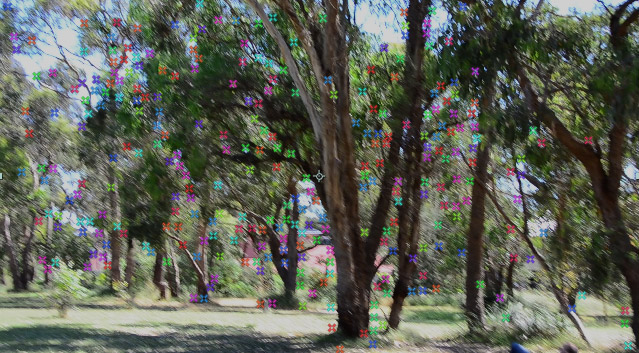
After Effects CS6 includes an inbuilt 3D camera tracker, but you can also use Mocha for After Effects if you are on an earlier version or use third party tools like Boujou.
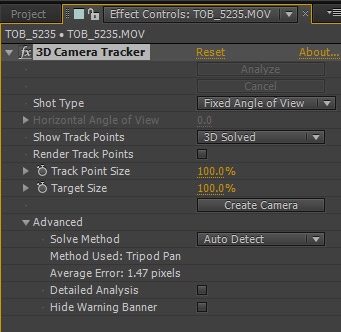
If your scene was locked off (e.g. the camera was fixed on a tripod), you may not need this step, but you will still need to record the information required to correctly match your camera in your 3D program.
Step 3: Creating a Virtual 3D Scene
This step is, at least in my opinion, the most difficult one when creating realistic looking 3D integration VFX as it requires fairly intimate knowledge of your 3D program of choice: you have to recreate the relevant elments from your shoot inside your 3D program.
You also have to set up a virtual camera that immitates the real camera you used to film your scene using the camera tracking data from Step 2.
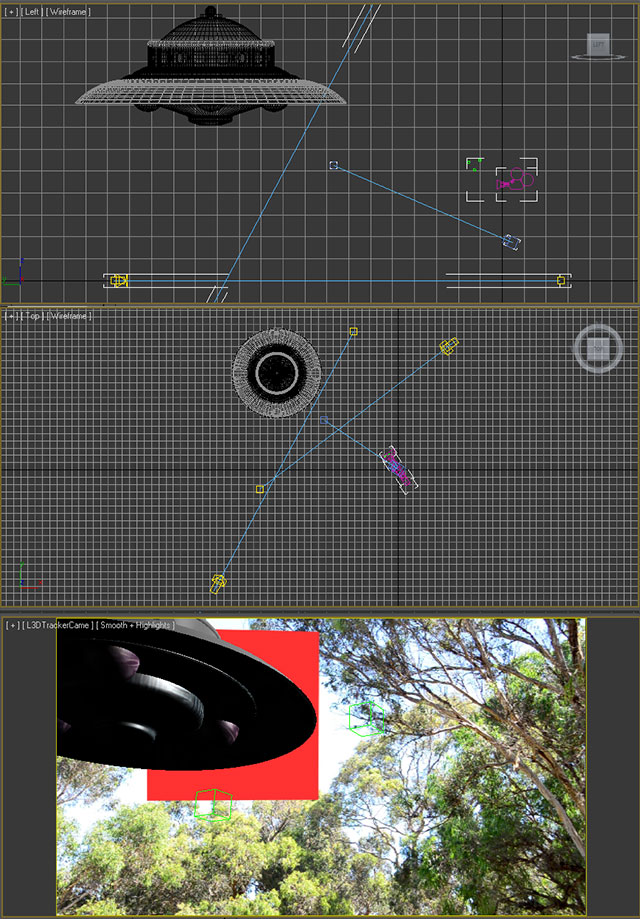
Once you have the scene matched up and the virtual elements placed, skinned and animated, you need to render out any passes that you require to blend the rendered frames together with the real live footage. This might include separate passes for beauty, shadows, reflections, ambient, zDepth and any other layers required.
Step 4: Compositing in After Effects
The final step of the process is to take your rendered layers and composite them on top of your real live footage to create the final, hopefully realistic looking, 3D integration VFX.
This will likely involve timing all the elements properly, masking and mattes, colour corrections and doing what you can to properly blend all the visual elements into one coherent effect. You may also use zDepth compositing to add additional stock footage elements into your effect and add a little more detail into the final shot.
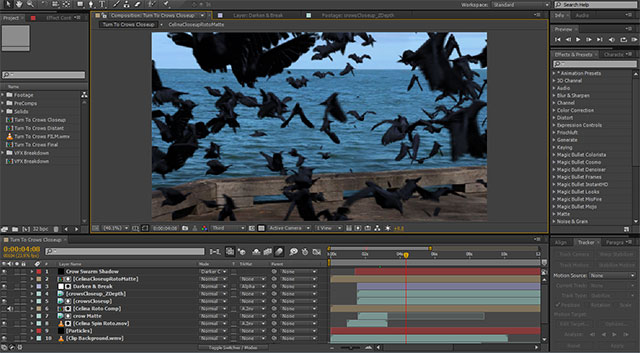
There is another great tool that you can use to create great 3D effects directly inside of Adobe After Effects and that is Videocopilot’s Element 3D plug-in.
VideoCopilot’s Element 3D
VideoCopilot’s Element 3D plug-in for After Effects allows you to create a virtual 3D scene directly inside After Effects and add simple objects into it. While there are limitations to this plug-in that you don’t have with a fully fledged 3D program (e.g. the objects have to be static, e.g. can’t have bones/animations), it can be sufficient for many situations and get you great looking results quickly.
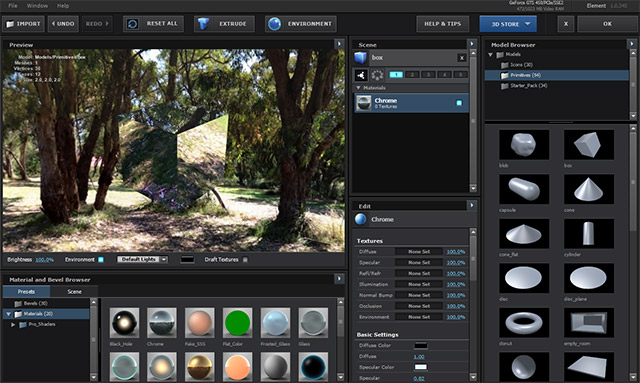
This is a worthy plug-in to check out if you’re interested in 3D integration effects, but don’t have or don’t want to spend the time learning a 3D program – though I highly recommend you do, even if just to understand how vital they are to creating realistic looking 3D integration VFX :)
I will upload all the other parts of this 3D integration tutorial soon, probably one covering each step of the process in detail. My goal is to teach the techniques and considerations you need to complete each step, independent of the actual 3D effect you are trying to achieve :)


4 Responses
thank you for sharing, now i want element 3d
Element 3D is pretty awesome. I am planning to do a few tutorials on the plug-in very soon :)
I prefer use cinema4d because of the dynamics,and pretty soon AF will come with a new c4d integration!
I’m a big fan of 3dsMax, but I’m curious to try out C4D once they package it with After Effects :)