After Effects Rotobrush Tutorial
One of the most powerful tools available in Adobe After Effects CS5 and above is the Rotobrush tool. The rotobrush tool is a painting tool that helps you to rotoscope elements and separate them from the footage. In the second part of VFX Vlog #5 I show you why the rotobrush was introduced and how you use it to create your visual effects.
Here is some footage from my Blood Smear VFX Tutorial! It is a simple clip of me pretending to be hit by a bullet and sliding down the wall.
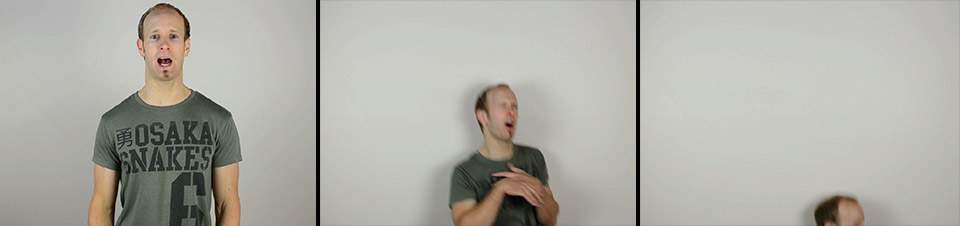
In order to add a blood smear effect behind me on the wall, we first need to separate me from the base footage. That way, we can then place blood stock footage on the wall behind me in the clip.
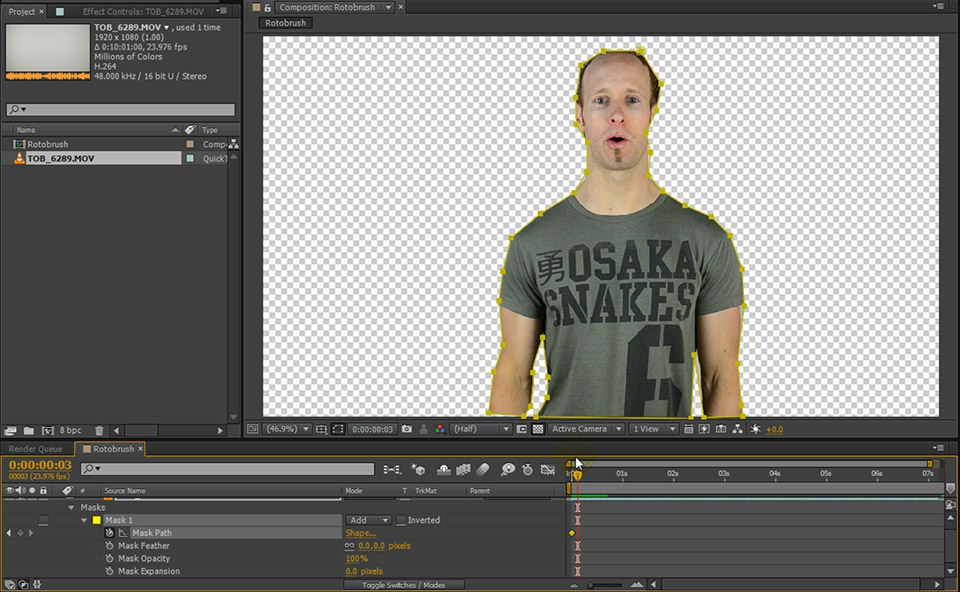
Without the rotobrush tool, we would have to use animated masks to rotoscope. We would draw a mask as precisely as we can around my body to cut me out of the footage layer. Then, because we are dealing with video and I am moving, we would have to animate the Mask Path property and alter the mask every single frame for the duration of the effect.
This can take horribly long and is a very tedious process to extract any moving element from your footage. To alleviate this issue, Adobe introduced the Rotobrush tool to After Effects.
The rotobrush tool can be accessed in the main toobar at the top of the After Effects interface. Note that it is only available since After Effects CS5. Click on the brush icon to activate the rotobrush.

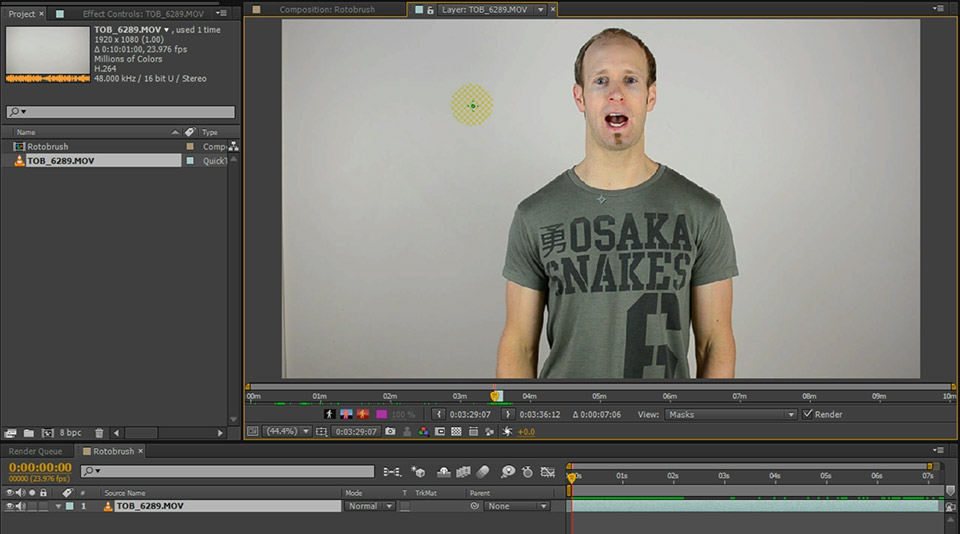
Next, with the rotobrush tool selected, we need to double click on the clip we want to apply the rotobrush effect to. A small rotobrush preview window will open. At the bottom of the preview window are a number of controls that allow you to alter how the rotobrush will be visualised.
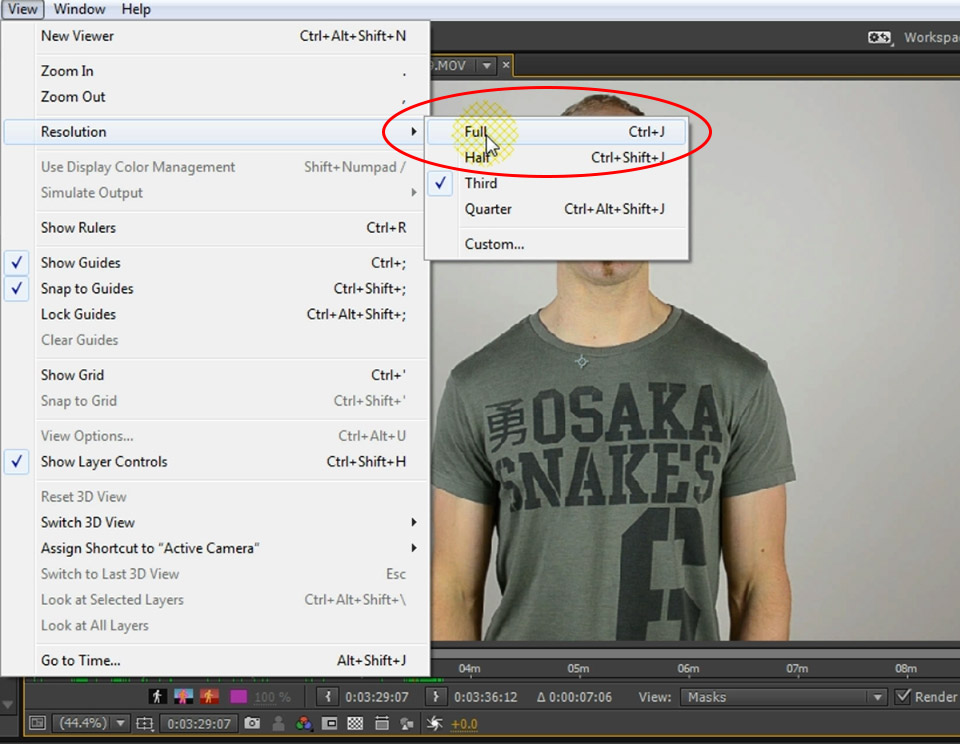
A word of caution: The rotobrush tool automatically tries to retain the elements you painted from frame to frame. It does this by evaluating the pixels in consecutive frames and tries to follow any moving edges it can detect. Therefore the resolution the rotobrush uses to determine the propagation is crucial to how the effect will be applied!
If you apply the rotobrush tool in half resolution but then export in full resolution you are likely going to get some very funky results as the rotobrush will propagate differently and therefore cut out different pieces of your footage. Before you start painting, double check that your resolution is set to Full!
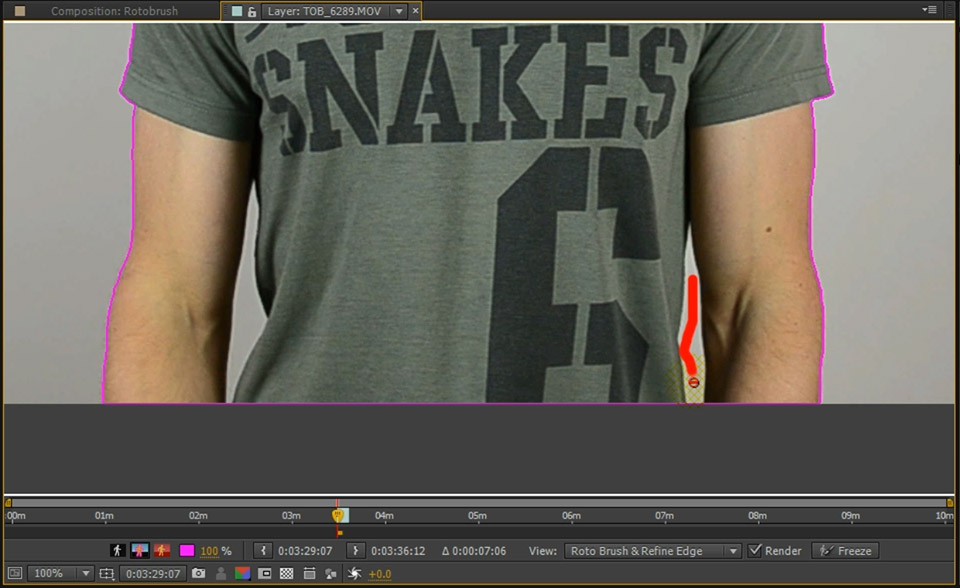
The rotobrush works by painting over the areas of your footage that you want to cut out of the footage. Simply paint (green) over the elements you want to keep. The rotobrush tool will automatically try to detect the edges of the element you painted and highlight them with a pink outline. If you are missing a few pieces, simply paint over those elements as well to include them in the rotobrush effect.
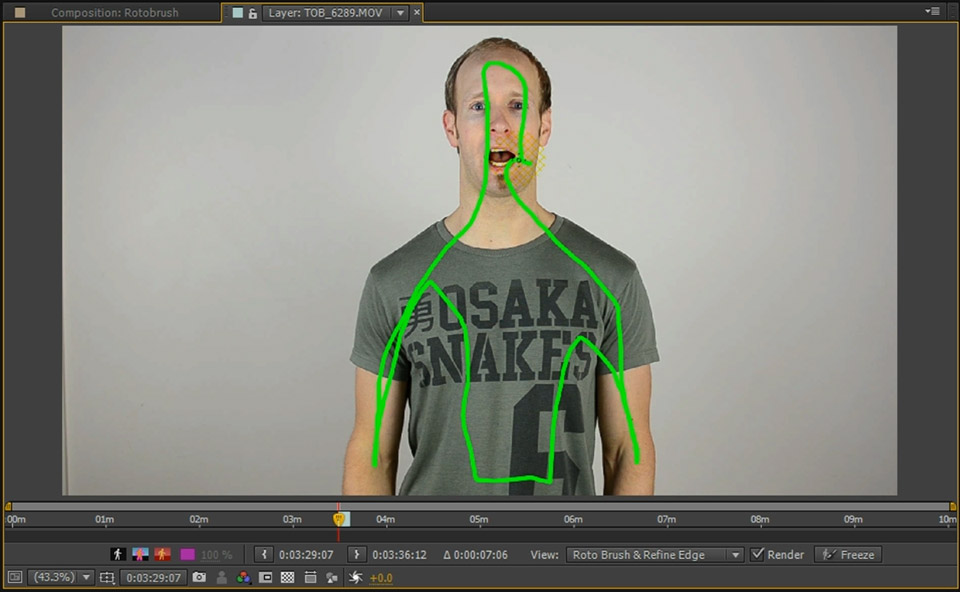
In order to remove elements that the rotobrush tool accidentally included (e.g. the gaps between my arms and my body), hold down the ALT key on your keyboard and erase those areas (using red).
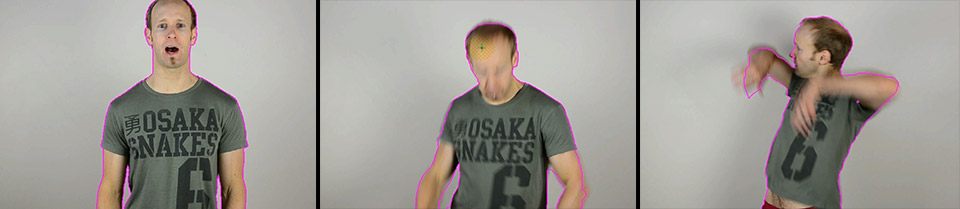
Now move through your entire animation (you can move frame by frame using the Page Up/Down keys) and paint/erase the elements that you want to rotoscope out. The rotobrush tool will do its best to follow the moving elements correctly, but it does at times need a fair bit of manual guidance. Once you’re done, you should have the pink outline follow the element you painted correctly.
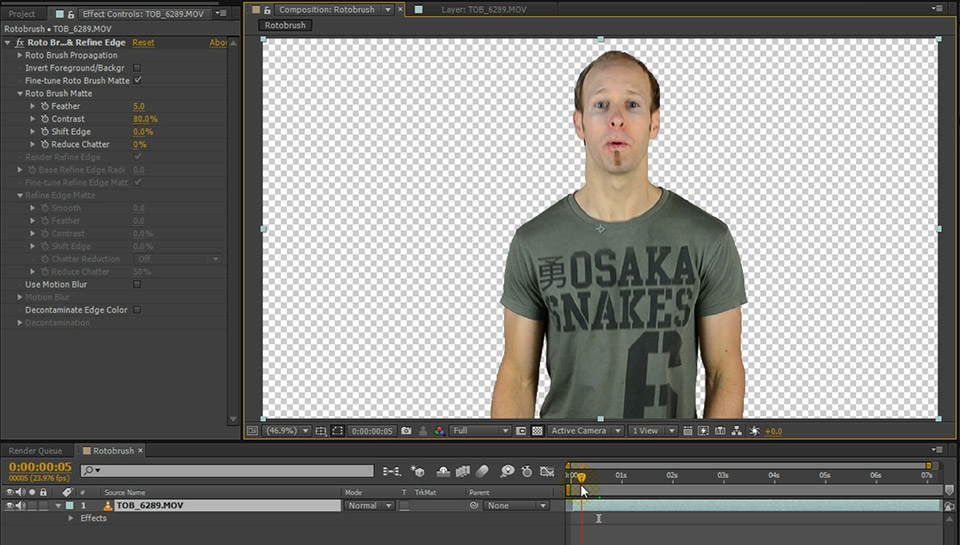
If you now return to your composition (click on the little composition tab at the top of the preview window), the rotobrush effect will be applied. Note that this can take a little while depending on the complexity of the brush strokes you applied, the length of your composition and the power of your computer.
Once the rotobrush has finished propagating, you should have a nicely rotoscoped element to work with and, in our case, add blood splatters to!
The Rotobrush tool in Adobe After Effects can make your life a whole lot easier and it takes away the pain of having to manually animate masks frame by frame to rotoscope elements. It may not be perfect, but I’ve become a big fan of the rotobrush tool and I bet that once you start using it, you will too.
Also check out the Refine Edge tool that has been added in After Effects CC to help you use the Rotobrush tool for detailed elements like hair or intricate treelines.


2 Responses
Great explanation! After finishing with the rotoscope tool, what steps are needed to finalize the video and render it for use in Premiere with a transparent background? I am a newbie at this.
You can just render out the element from After Effects, just make sure you use a codec / format that supports alpha channel, e.g. QuikTime -> PNG -> RGB+Alpha