Colour Correction in Adobe Premiere Pro
As mentioned earlier, it does not really matter which tool you use for Colour Correction or Colour Grading, as long as your software gives you sufficient control over the colour and style of your footage.
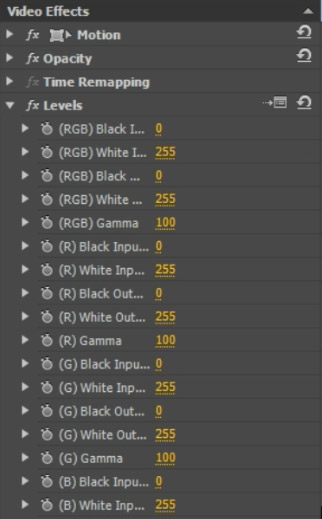
In Adobe Premiere Pro, you will also find a Levels effect. While it fundamentally works the same way as the effect in After Effects, it does not include an image histogram. This makes the effect a little less easy to use and I tend to avoid it for that reason.
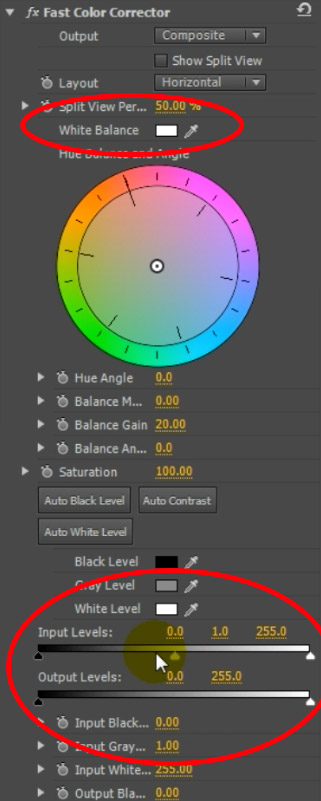
Instead, my favourite effect in Adobe Premiere Pro for doing Colour Correction or Colour Grading is the Fast Color Corrector. This effect gives you control over the colour balance of your footage and it does include the Levels effect – still without histogram, but at least with simple to use sliders. The Fast Colour Corrector also includes a White Balance picker that comes in very handy when correcting the white balance of your footage.
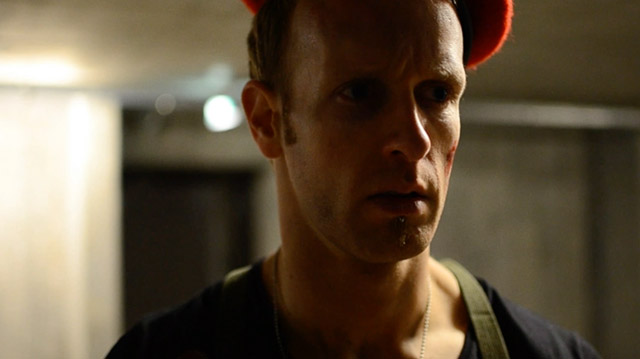
Here I one of the original clips from our Zombie Hunter VFX short film we did a while ago for Halloween.
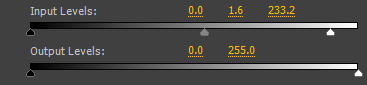
To colour correct the footage, let’s first make sure that the clip is properly exposed. For this, we can use the Levels controls inside the Fast Color Corrector effect to tweak the shadows, mid-tones and highlights as required to get a much more pleasing looking image. I decided to brighten up the highlights as well as the mid-tones of my footage.
Notice how much more detail we can see in our footage just by adjusting the levels and getting our clip properly exposed.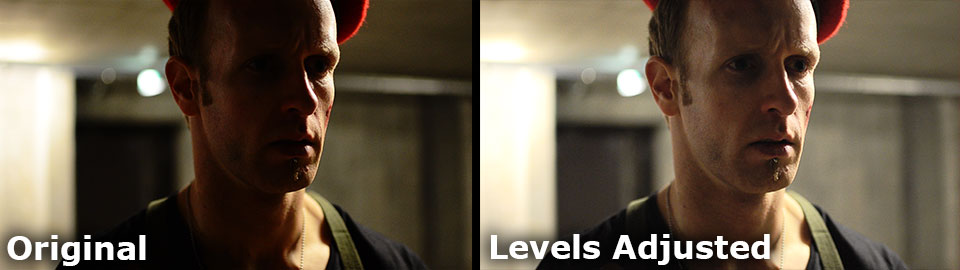
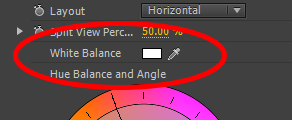
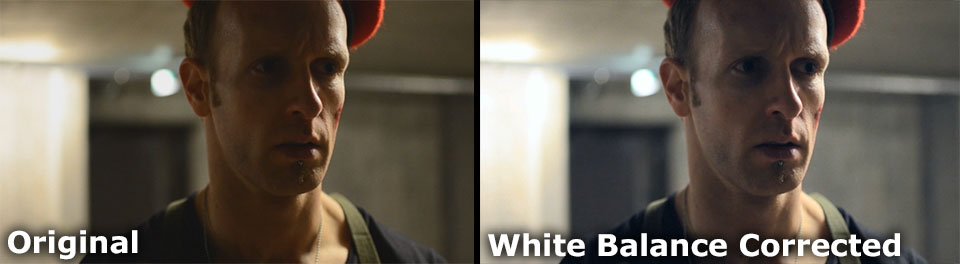
Finally, because the clip is quite a bit too yellow, we need to also correct the white balance of this clip. The Fast Color Corrector in Premier Pro includes a white balance picker that you can use to tell Premiere what in your clip should be white. Simply click on the picker and then select an item in your footage that represents white.
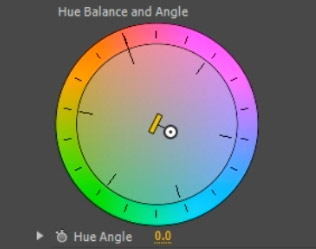
You can further tweak the colour of the footage using the colour wheel in the Fast Colour Corrector by dragging the pin in the middle around. The direction from the centre defines the colour tint and the distance from the centre controls the intensity of the tint.
This will remove the yellow tint from the footage, but makes the image look rather flat.
Therefore, as I do with most of my clips, I want to add a little bit of contrast back into my footage. Adobe Premiere Pro also includes a Curves effect, called ‘RGB Curves’. Add the effect to the clip and then go over to the effect parameters.
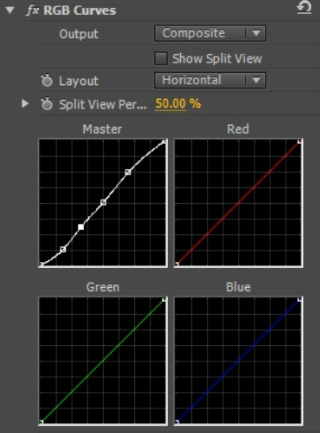
Unlike the Curves effect in After Effects, the one in Premiere Pro displays the curves for all channels separately. Other than that, it works exactly the same way. To increase the contrast push up the right end and lower the left end of the RGB curve on the top left. This will add contrast back into our footage and we will end up with a nicely colour corrected image.

Colour Correcting Consecutive Clips
It is important to ensure that all clips in a scene match in terms of colour so you may have to brighten, darken or tint some of them to make them sit seamlessly in the sequence. It is simply another thing to do with colour correction and you can use the exact same techniques described above for that.
Colour correction is a powerful tool and it will not only make your footage look much better, it will also put you in the best position to add a cinematic look to your clips when we move on to colour grading in the next tutorial.


8 Responses
which software do you use for editing these videos. i don’t know the software name..
I edit all my videos in Premiere Pro
You are awesome!
Hello, thanks so much for your tutorial, my videos look so good and neat because of you!, Now I will check out regularly your website
I havent even completely read your post or tried this but just scrolling through I already know you have given us a good coaching. Id be stuck on your blog now as I learn along. thank you so much
Haha, thanks for the feedback :) Glad to hear you’re finding my content useful!
How can I remove the background from video
There are different techniques that you can use depending on what your footage looks like. Check out my tutorials on green screening (the recommended approach) or, if you didn’t film with a green screen you can use rotoscoping. Again I have a few tutorials for that that on my YouTube channel and this website :)