 Surfaced Studio
Creating Fireworks with After Effects & Trapcode Particular
In this tutorial I will show you how to create cool looking fireworks effects using Adobe After Effects and the Trapcode Particular particle system plugin! Here are some celebratory fireworks I created and composited into a city scene:

Trapcode Particular
Trapcode Particular is a particle system plugin for Adobe After Effects. I actually prefer it over the inbuilt CC Particle World effect. You can get Trapcode Particular from the Red Giant website. The reason I prefer Particular over CC Particle World is that it simply has more functionality like air resistance physics and an auxiliary system that allows you to spawn secondary particles from the primary ones.
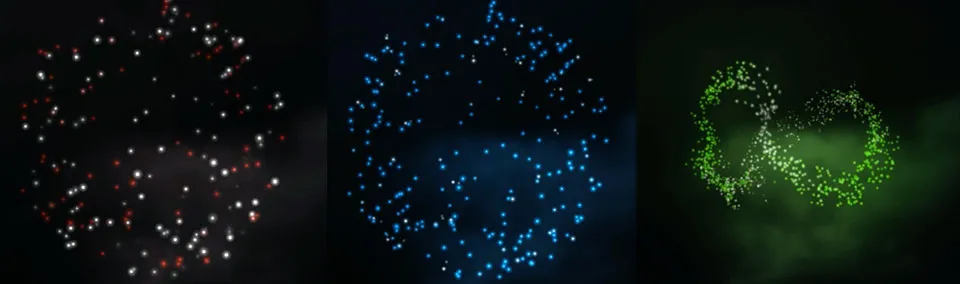
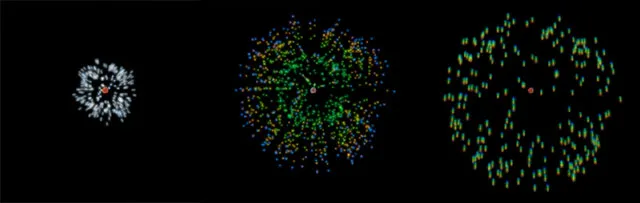
And of course you can use it to create a myriad of cool looking fireworks effects. Here are a few examples of different fireworks created with Trapcode Particular:
Getting Started
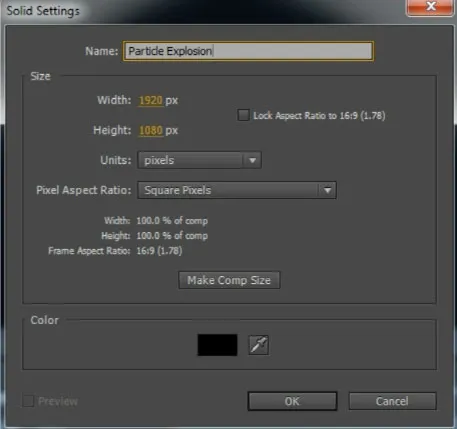
Go into After Effects and create a new composition for your fireworks. Then add a new solid into your composition. Call it ‘Particle Explosion’ and make sure it matches the dimensions of your comp. The colour is irrelevant as we will apply the Particular effect to the layer anyways.
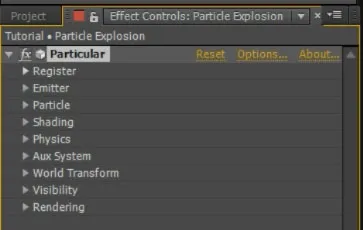
Now search for and apply the Trapcode Particular effect to this solid. Particular has a large number of settings to control the behaviour and the appearance of your particles.
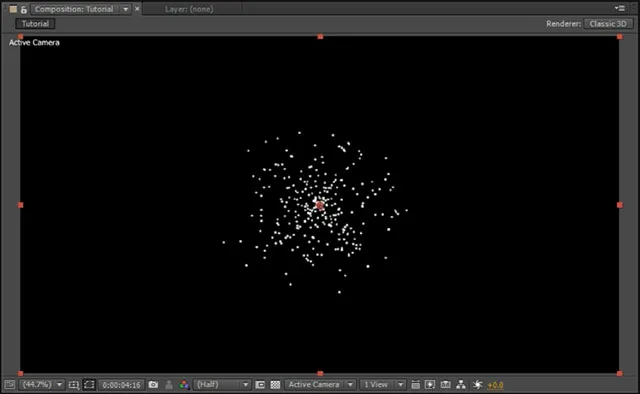
If you scrub through your composition without making any changes you will see plain white particles being spawned continuously from the centre of your Particle Explosion layer. This is the default behaviour for the Particular effect.
Let’s get started shaping this particle effect to look like a realistic fireworks explosion!
Creating Fireworks Effects
The first thing we need to change is the way the particles are being emitted. Instead of a continuous stream of particles, we want a powerful short burst at the time of our fireworks explosion. To do this, expand the Emitter tab of the Particular effect and keyframe the Particles/sec property.
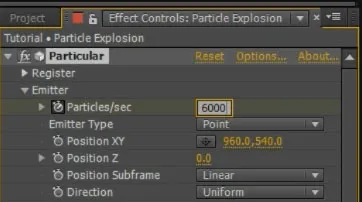
Add 3 keyframes to animate this property to go from 0 to some large number (I used 6000) and then back to 0.
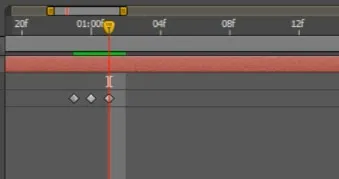
This will cause Particular to emit 6000 particles per second for a single frame only. At 24FPS that is 250 particles. Feel free to tweak this to your liking. If you now play back the effect, you should see a burst of white particles being emitted.
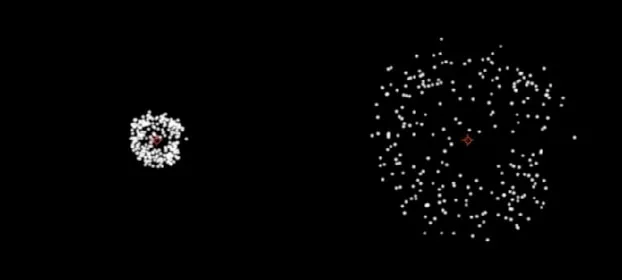
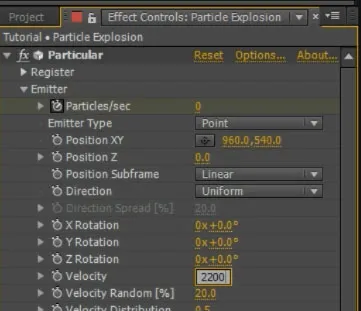
Next we need to amp up the velocity of the particles since a real fireworks explosion has a lot more power and speed. You can do this by increasing the Velocity property in the Emitter tab for the Particular effect. I set mine to 2200.
The particles are now emitted with a lot of more force. However, due to their velocity they now travel much too far and end up being all spread out over the screen.
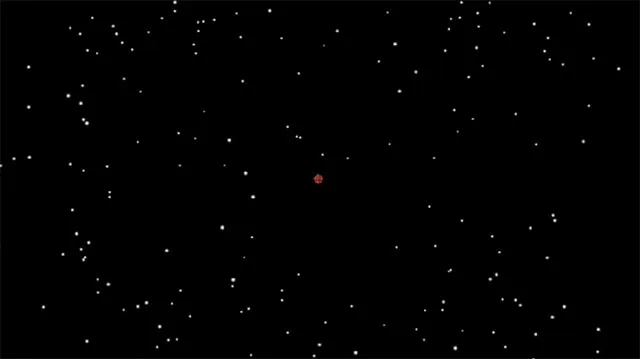
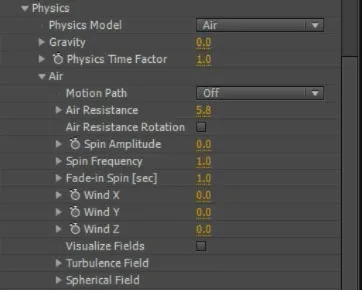
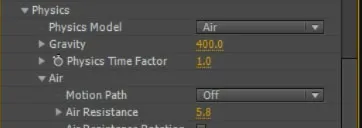
If you watch real life fireworks going off you, will see that the sparks that shoot out of the explosions tend to slow down quickly and then slowly sink downwards. They are being slowed down by friction with the air. In Trapcode Particular we can simulate this physics behaviour by increasing the Air Resistance property. You will find this property under the Physics —> Air tab. Increase your air resistance until all of your particles stay within an area that is more realistic for a fireworks effect.
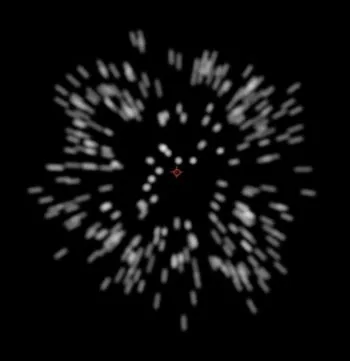
Playing this effect back you will now have white particles shooting out of the emitter and slowing down to form something that looks like fireworks.
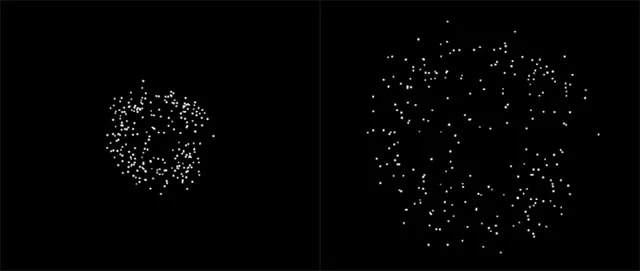
I felt the final distribution of the particles was a little bit too random. This is often caused by the Velocity Random property being too high, causing the particles to travel different distances from their point of emission. You can keep them all more evenly spread out by lowering the Velocity Random property under the Emitter tab. I decreased mine to 7%.

Finally, since we are dealing with a forceful explosion, remember to enable the motion blur switch on the layer as well as on the composition.
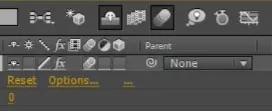
This will give the initial frames of your fireworks particle effect a much more powerful appearance.
Finally, the sparks spawned by real life particles tend to slowly sink down after they have been expelled from the launched fireworks shell. This is due to plain old gravity and Trapcode Particular lets you control the amount of gravity applied to the particles via the Gravity property under the Physics tab. I set mine to 400 so that the particles would slowly drift downwards after they are spawned.
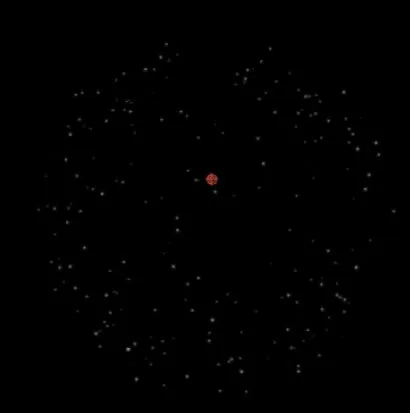
If you play back your effect you should now see a nice little white fireworks explosion similar to the screenshot below.
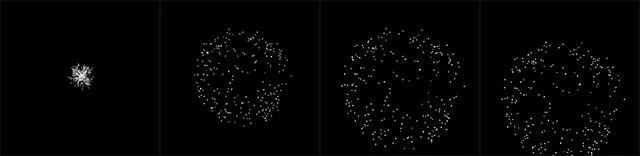
Now that we’ve got the basic shape working, let’s work on the appearance of the actual particles.
Styling the Fireworks Particles
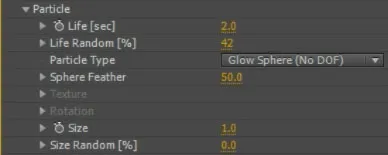
The particles we are spawning with the Trapcode Particular effect all look very dull. Real firework sparks glow intensely as they fly burning through the air. The first thing to get our particles closer to that look is to set the Particle Type property in the Particle Tab to Glow Sphere.
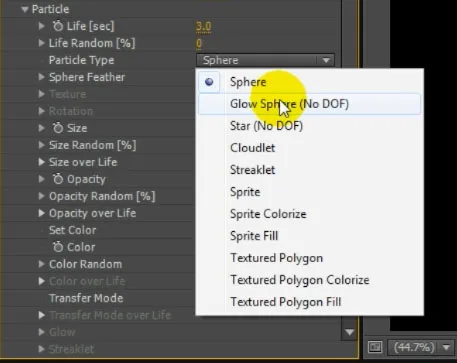
This will add a subtle, but distinct glow to the look of the particles.
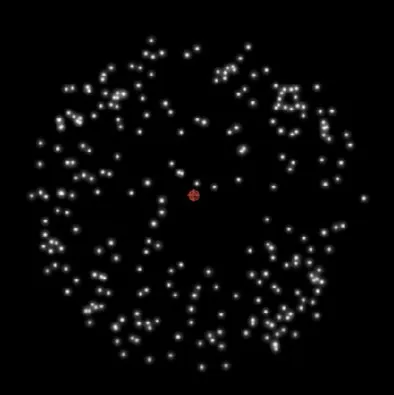
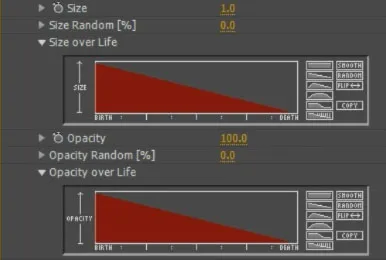
Next, think about how the sparks for fireworks behave in real life. As they fly through the air they burn out and get smaller until they vanish. You can tell Trapcode Particular how you want the size of each particle to change over its lifetime. You can do the same with the opacity of the particles. Simply open up the Size over Life and Opacity over Life properties in the Particle tab of the Particular effect. Click on the declining slope icon on the right side to gradually animate the size and the opacity from the initial full value down to 0 over the lifespan of the particle.
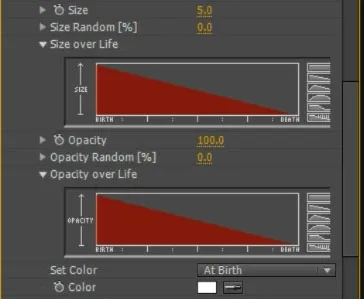
Playing back the effect now you will see your particles shrink and fade away just like a real firework would.
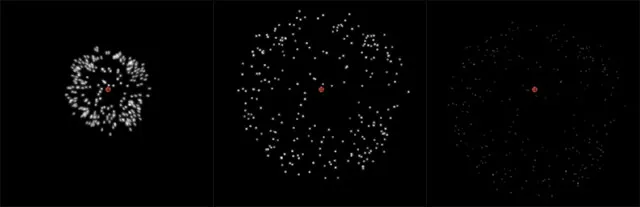
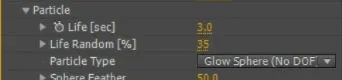
You can control how evenly the particles fade away by randomising their life span. You can do this by increasing or decreasing the Life Random [%] property in the Particle tab. I set mine to around 35%.
To me, adding a bit of randomness to the look and behaviour of your particles will make them look more realistic as nothing is ever absolutely perfect in real life.
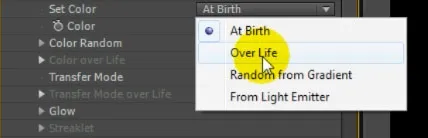
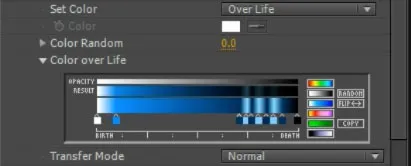
Trapcode Particular also offers you options to control the colour of the particle. You can set it to a solid colour or, one thing I love to use, you can vary it over the life of each particle. To enable the Color over Life property, you will first need to set the Color property to ‘Over Life’.
You can then expand the Color over Life property and use the colour scale to define the array of colours each particle will pass through during the span of their life. By default it is set to a rainbow gradient.
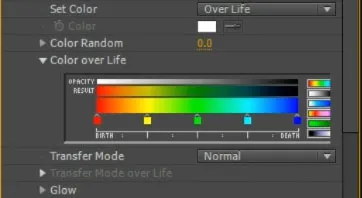
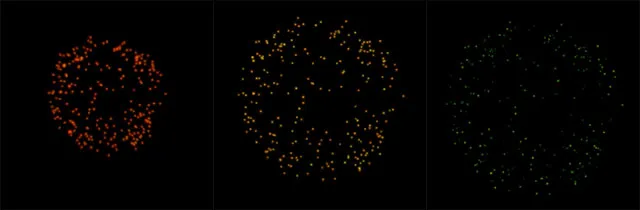
If you play back the effect without making any changes, each particle will get born in red, turn yellow, then green and then, just as they are about to die, they will turn blue. Funky, but not quite what we want for our fireworks.
You can add new colour tags by clicking onto the colour bar. You can remove existing tags by dragging them downwards off the bar. To define the colour of a tag, simply double click on it and it will open up a colour picker. I want my fireworks to start out bright white (intense light) and then turn into a nice soft blue. Towards the end of their life I want them to glitter wildly so I added a few very short bursts of blue towards the very right side of the colour bar.
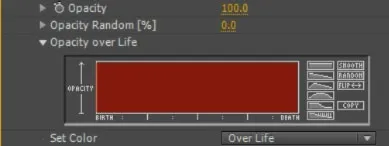
Finally, because the final colour of the particles is black, there no longer is a need to have the particles fade away. Therefore I went back and reset the Opacity over Life property to constant as the particles were starting to fade away a little too quickly.
Play back the composition and you should have a cool firework explosion starting out bright white, turning blue and ending in a little bit of glitter just as it’s about to fade away.
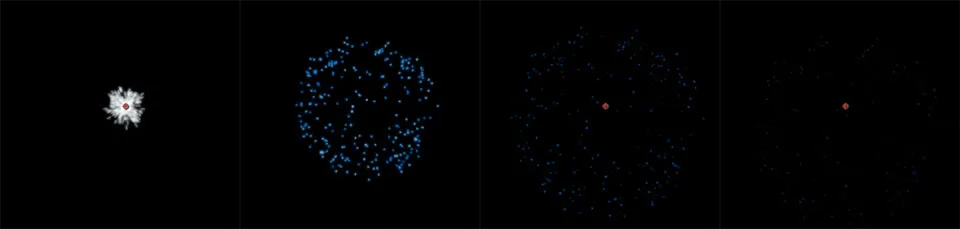
Let’s make the effect even more fancy and add some additional particles to be emitted by the blue sparks towards the end of their life.
Trapcode Particular - Auxiliary Particles
Trapcode Particular has the ability to spawn auxiliary particles from the main particles. To enable this option, open the Aux System tab in the Particular Effect and set the Emit property from ‘Off’ to ‘Continuously’.
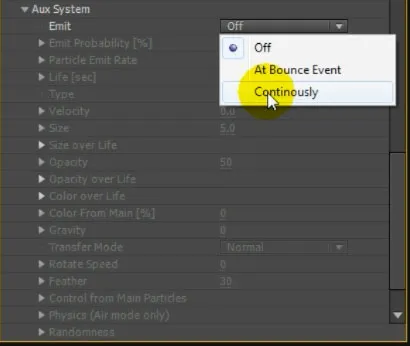
If you play back the clip now, you will see your blue fireworks particles continuously emit new, rainbow coloured particles. This is getting really trippy, but once again, not really what we are after.
First off, I only want these particles to be emitted during the very end of the fireworks, just as the blue sparks are fading away. Trapcode Particular allows you to configure at which point in the particle’s lifespan they emit the auxiliary particles. You can find this option in the Control from Main Particles tab under the Aux System. I set mine to 65% and 70%, which defines a short span of time towards the very end of the fireworks effect.

Now the fireworks effect starts out normal and then, just as the particles are fading away, they start to emit the rainbow coloured auxiliary particles.
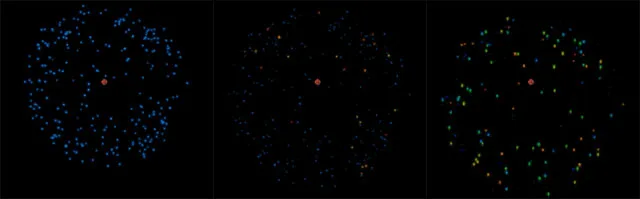
Just like you can for the main particles, you can change the behaviour and the appearance for the auxiliary particles. I decided to decrease the Life property to .5 as I only want the sparkles to be visible for a short time.
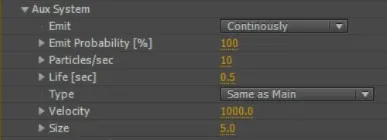
I also increased the Velocity to 1000 to have the particles being emitted with a lot of force to make them look a little more realistic.

In order to not have the auxiliary particles fly way off screen due to the high velocity, go into the Physics tab in the Aux System and increase the Air Resistance property. This will apply friction to the particles and slow them down after the initial birth event.

Finally, I also lowered the Size of the particles to 2 as I wanted the little sparkles to be fairly subtle.

Play back your composition and you will have the normal blue fireworks effect and towards the very end, a large amount of tiny sparks should be emitted.
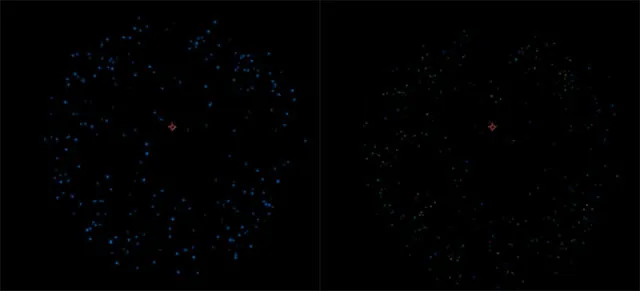
Now I didn’t want rainbow glitter so I went to the Color over Life property for the auxiliary particles and set the colour to a solid gold. I also configured the Size over Life property to continuously decrease so the little sparkles slowly fade away.
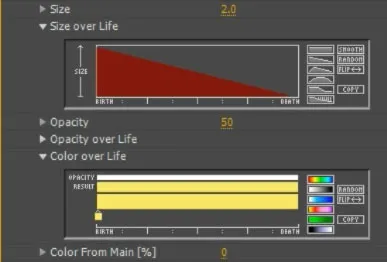
If you play back the effect, you should have a cool looking blue fireworks effect with some glitters towards the end!
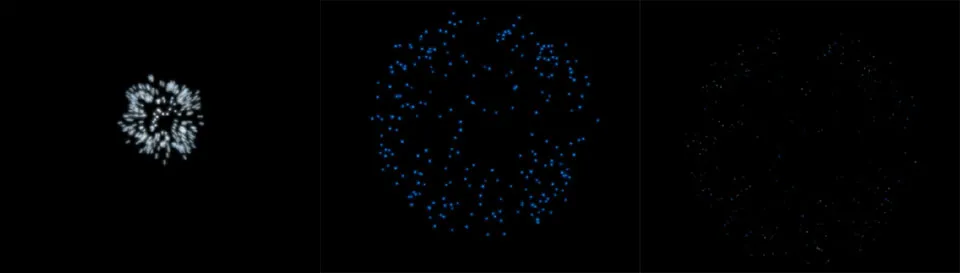
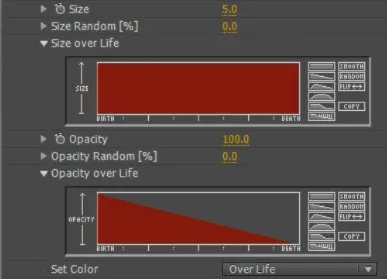
One thing I noticed was that the main particles were a little bit hard to see towards the end when the gold glitter was emitted so I went back to the main Particle tab in Particular and set the Size over Life property to be constant. I wanted to keep their size pretty big and instead set the Opacity over Life to decrease. This made the glittering of the main particles at the end of the effect more obvious.
Feel free to tweak as you please. Finally, let’s look at adding a small launch particle trail to the fireworks effect using Trapcode Particular!
Creating a Fireworks Launch Trail
Creating a fireworks launch trail in Trapcode Particular is actually very easy. Simply create a new solid layer and apply the Particular effect to the layer. Then keyframe the Position XY property of the Emitter and animate it to move upwards to meet the fireworks effect at the right time of the explosion. Just imagine a rocket being launched into the air and exploding once it reaches the centre of the screen.
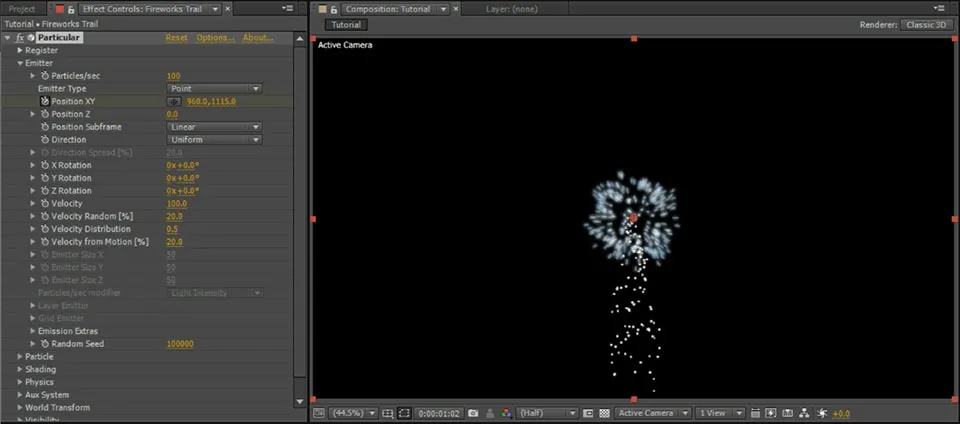
In order to avoid the particles being ‘pushed’ in the direction the particle emitter is moving, ensure you set the Velocity from Motion [%] property to 0.

Now animate the Particles/sec property to immediately drop down to 0 once your main fireworks explode. To style your particles, set the Particle Type to ‘Glow Sphere’ and decrease the size to around 1. Of course this will depend on what you are going for so feel free to change these properties to your liking.
Finally, set the Size over Life and Opacity over Life properties to decrease gradually so the sparks slowly fade away as they are being emitted from the launch trail.
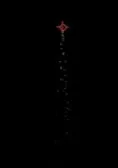
You should now have a simple white trail shooting up your composition to meet the big fireworks explosion.
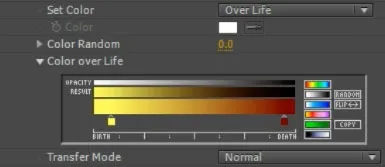
Finally, set the Set Color property to ‘Over Life’ and then set the Color over Life property to go from yellow to a dark red. We want to make these particles look as much like sparks as possible.
And that’s it! Play back your effect and you should have a completed fireworks effect!
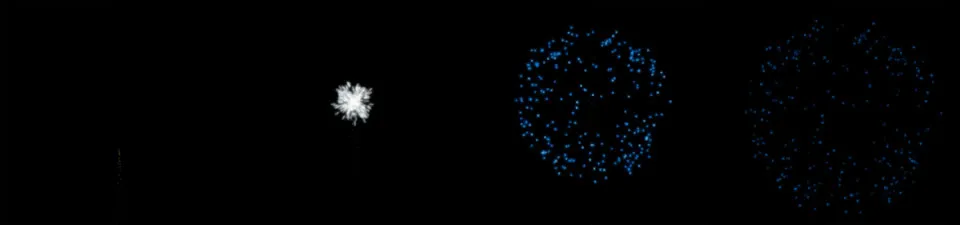
I hope you enjoyed this After Effects tutorial and having a look at the awesome Trapcode Particular plugin. Feel free to leave any comments, questions or suggestions in the section below!
6 Comments
FANTASTIC TUTORIAL
Going to be using this and your 3D camera tracking tutorial for a senior-themed school video! Going to make it look spectacular!
Thank you, Tobias.
No worries, glad to hear you enjoyed it!
This isn't working for me. The particles aren't fading out or scaling down, they're just disappearing. I'm using Trapcode Particular 2.2.3 and AE CC 2015. Assuming I'm doing everything right, is there some sort of version conflict?
Not that I know of. Start out with the most basic particles and see if you can get them to fade out
many thanks Tobias. With my first use of Trapcode & my first attempt at doing fireworks - your tut nails down those key particular parameters.
:) That's great to hear, thank you for the awesome feedback! I gotta make more Particular tutorials...