Shadow Catcher/Shadow Matte Materials
Let’s render out a single frame to see what we got so far. Go to your render settings, make sure you select the camera you set up to replicate your real camera as the viewport and render out a frame. This is what I got about halfway through the animation.
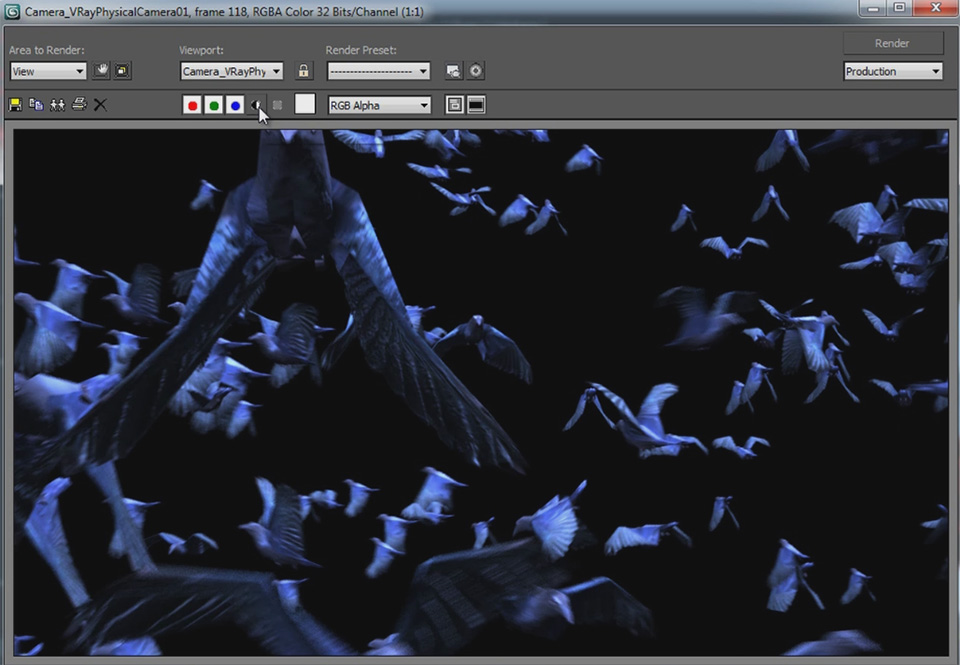
The crows are a little bit blue, but we can colour correct them during compositing. Also note that if I reveal my alpha channel for the render, the geometry of the pier does not actually show. It does however, correctly receive the shadows of the crows as generated by the lights (sun) in the scene.
To achieve this, you will need to use a special material called a Shadow Catcher or Shadow Matte on the geometry you set up in your scene. I first mentioned this technique in my 3D Integration VFX Part 4 – 3D Scene In 3dsMax tutorial.
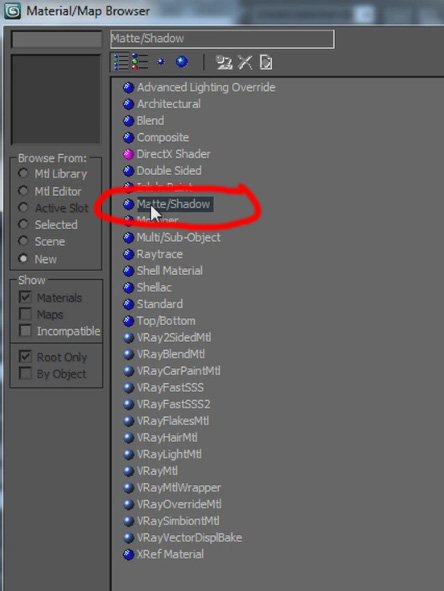
Open up the the material editor. This technique is very different if you are using vRay, but if you are at a level of using vRay, I assume you know all about the vRayMtlWrapper and how to set it up as a shadow catcher material. If you are using a standard material, you can create a Matte/Shadow material that you can apply to your geometry.
It is important that you configure a number of options on the Matte/Shadow material, namely:
- Ensure the Receive Shadows option is ticked
- Ensure the Affect Alpha option is ticked
With these settings, any geometry that you assign this material to will be invisible and not write to the alpha channel, but it will still receive shadows from other objects in the scene – just what we want!
Refining Your Crows Setup
Because I am a very picky person, I decided to add some floating bird feathers to the effect to make it look a bit more intricate. I won’t cover this part in too much detail here. I basically created an animated sphere that spawns feather particles as it moves up in unison with the crows spawning.
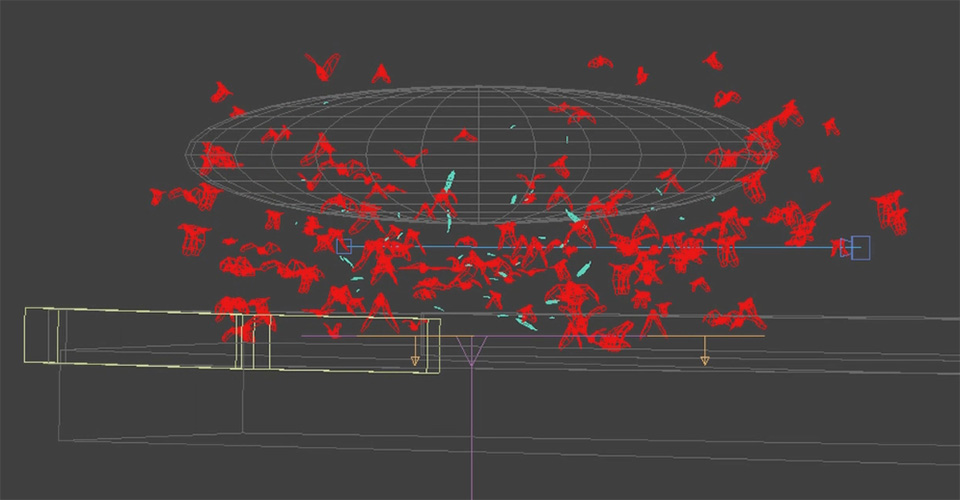
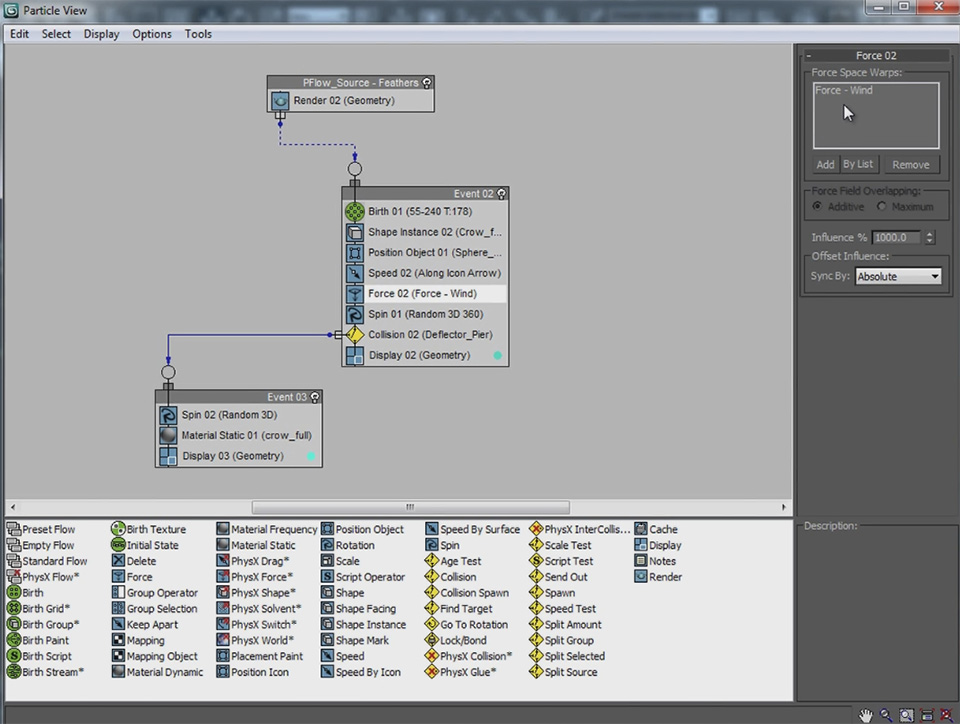
Here is a screenshot of the feather particle flow I set up. Most of it is very similar to the crows particle flow, but I used a Position Object operator to spawn the feathers on the surface of the sphere. I also added a Wind force into the scene to sway the feathers as they are falling down and, on collision with the pier deflector, I stop their movement so they come to rest when they hit the ground.
Once you are done tweaking your 3D scene and you are happy with it, it’s time to render out the completed crows.


3 Responses
Compelling tutorial. I have attempted to emulate the animated mask; however the silhouette remains solid white in the parent composition. There appears to be a key step that eludes the completion of the true render for the pFlow. Any postulation… best, Campbell
I’m not sure what you mean. Are you having troubles animating the mask for the birth texture in After Effects?
hi, i like you tutorials very much :)
i don’t know how to work with 3dsmax
can u please tell me how to Do 3D integrations using C4D :)
I am doing this tutorial and it’s amazing…however, my crows are not spreading outward from the birth texture….they all are remaining within the plane….Can you help me figure out what I’m doing wrong? Thanks so much!