Rendering the Animated Crows
Open up your render settings and make sure you set the correct output range to include the entire animation. Ensure that your output resolution is high enough for compositing in After Effects and that the camera is selected as the viewport to render.
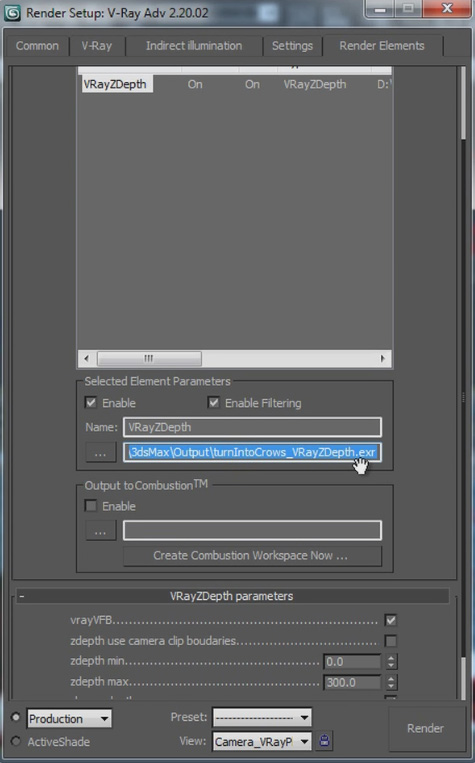
Before we hit that render button, I recommend setting up a z-depth pass to be rendered out alongside your beauty pass. You can do this in the ‘Render Elements’ tab in the render settings in 3dsMax.
Add a z-depth pass (in my case that is the VRayZDepth element) and configure the z depth min and z depth max properties to represent the minimum and maximum distance from any object to your camera.
Finally, ensure you select production quality for your output and then hit the render button!
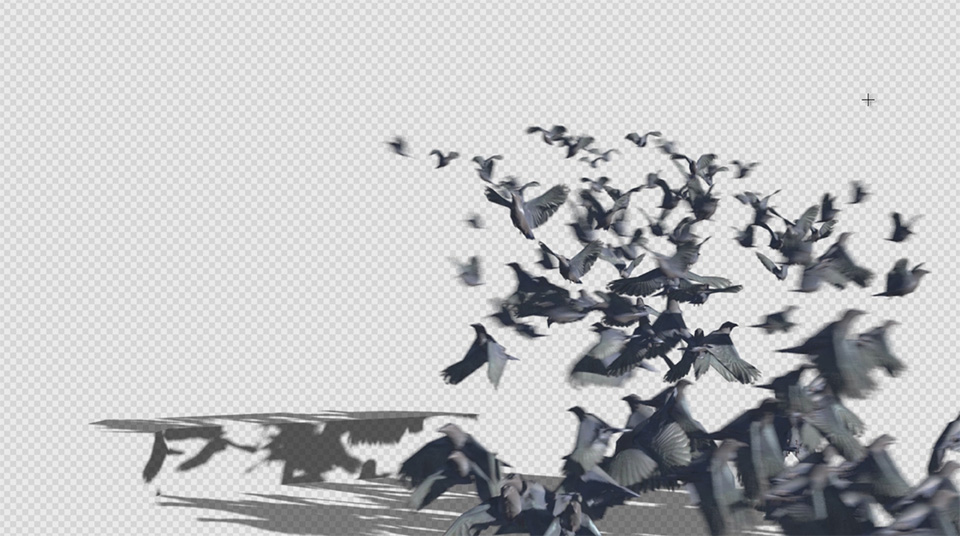
Once rendering is complete – which took overnight on my computer – you should end up with an image sequence showing nothing but your crows and their shadows being cast on the geometry you set up.
This concludes the first part of the dissolve into crows VFX tutorial. In the next part we will take this animation and composite it on top of our footage in Adobe After Effects to complete this awesome visual effect!


3 Responses
Compelling tutorial. I have attempted to emulate the animated mask; however the silhouette remains solid white in the parent composition. There appears to be a key step that eludes the completion of the true render for the pFlow. Any postulation… best, Campbell
I’m not sure what you mean. Are you having troubles animating the mask for the birth texture in After Effects?
hi, i like you tutorials very much :)
i don’t know how to work with 3dsmax
can u please tell me how to Do 3D integrations using C4D :)
I am doing this tutorial and it’s amazing…however, my crows are not spreading outward from the birth texture….they all are remaining within the plane….Can you help me figure out what I’m doing wrong? Thanks so much!