Visual bullet hits are great fun to create – as are any other type of destructive effects. All of these effects are most realistic when they visible cause some damage, as would in real life.
I already covered how to create great gun fire (muzzle flash) effects as well as how to create realistic looking bullet hit effects.
However, I did not talk much about how to create great destruction effects. This video applies not only to bullet hits but should prove useful for any sort of damage effect you are trying to create :)
Adobe After Effects Bullet Hit Destruction – Visual Effects 101
The basic principle of destructive visual effects
I like the psychology of this effect as it kind of works in reverse :)
Rather than adding a visual effect to make an object appear broken, we shoot the scene with the object already broken and then use visual effects to cover up the damage until it is destroyed.

The great thing about this is that you can interact with the broken element properly!
Imagine a scene where a wall is hit by a mortar, leaving a massive hole in it and then one of your actors crawls through that hole. For the effect, you simply cover up the hole using VFX and reveal it in a wake of rubble and dust when the mortar strikes :)
Step 1: Film your footage
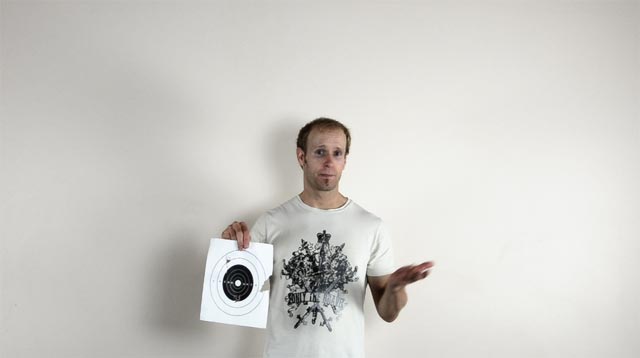
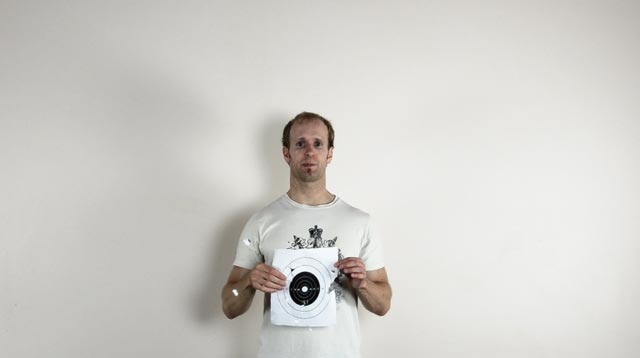
Shoot your scene with the already destroyed element in it. For my tutorial clip, I pre-tore up a paper target and filmed the scene of me pretending to shoot at it with my fingers.
Step 2: Prepare material to cover up the damage
When you use VFX to cover up the damage, you will need something to cover up the damage with.
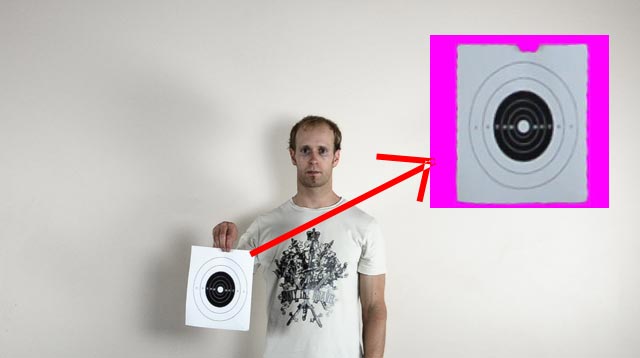
In my case I filmed a few small clips of me standing in the same position holding up an intact paper target.
You can then use your additional footage to cut out the element you need to cover up your broken element. In my case, I masked out a mint condition version of the paper target :)
Now let’s use the footage we created to cover up the damage to create the actual destruction effect in Adobe After Effects!
Step 3: Overlay the materials to cover up the damage
This can be a little tedious as you will have to align your overlay with the original footage up to the point where the element is destroyed. I used a corner pin effect and keyframing to align my paper target overlay with the broken target until I throw it into the air.
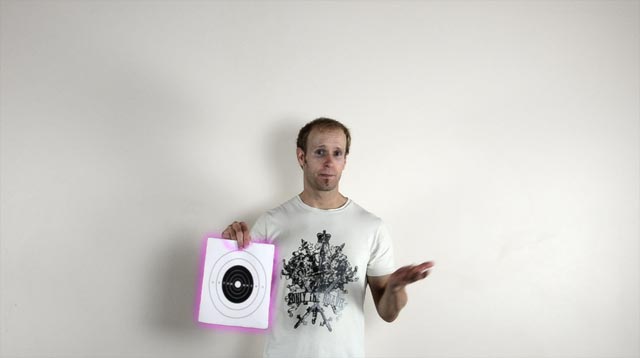
However, at the moment where I lift the target up into the air to shoot at it with my fingers, I could no longer use my overlay due to the position of the paper. During the last second before I shoot at the target, the three holes were visible from the front as well as the back.
To solve this, I created smaller overlays from parts of the intact target footage to cover up the holes individually.
I had to add some animated colorisation effects to them so the patches would blend in with the shadows on the paper :)
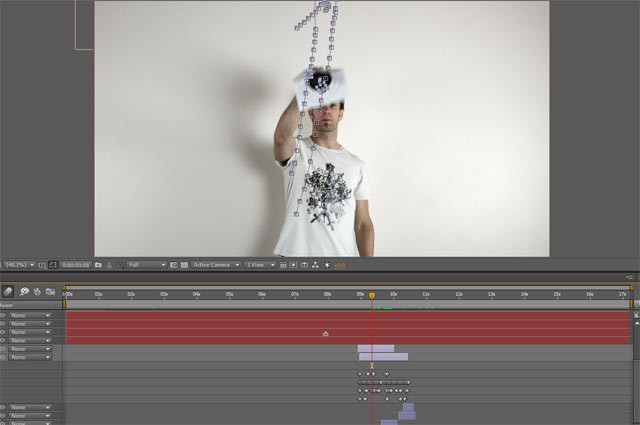
Once you have the damage covered up, you want to disable all of the VFX when the element is destroyed. For me, I remove all paper overlays when I pretend to shoot at the paper target.
Step 4: Add action VFX during the transition
To make this effect less obvious, add some explosion, dust, rubble, particle or other destruction effect at the moment of impact/destruction :) This will make your effect more interesting as well as distract from the cover up VFX elements disapperaing.
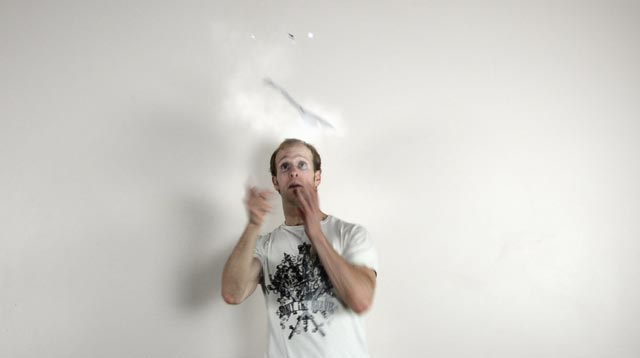
Gun effect destruction complete
Each situation will be slightly different and you may need to prepare different cover up VFX material, apply different effects to your overlay elements and add a variety of destruction effects to make it look convincing.
However, the principle is always the same:
- Film with destroyed element
- Cover up element with VFX to point of destruction
- Add destruction effects and remove cover up effects
Have fun experimenting!


