Tutorial Files
explosion-base-footage.mp4
explosion-base-footage-with-debris.mp4
In my latest video, I am going to show you how to blow stuff up with VFX explosions!
Learn how to make your explosions stand out with just a few extra elements like flying debris, shockwaves and camera shake :)
Base Explosion Footage
To create a convincing explosion you will first need to record your base footage. Simply record your clip as normal and at the time of explosion, have your actors either jump away as best as they can or simply stand still. We will cover them up anyway :)
Next, film some footage of your actors actively jumping away from the explosion. Try to get them to start the jump with the same position, direction and posture they had in your base footage as we will stitch those clips together. Feel free to take a run up to the jump, that’s the part we’ll cut away :)
Place the jump footage on top of your base footage and align the jump so it cuts in at the correct time when the explosion hits and it looks like your actor is being flung away from a standing position by the power of the explosion!

If you see any twitching during the transition, you can apply masks around your actors and feather them out a bit to make the cut less obvious. I’ve cut out the bottom left of my jump footage so there is no twitching in the foliage of the trees.
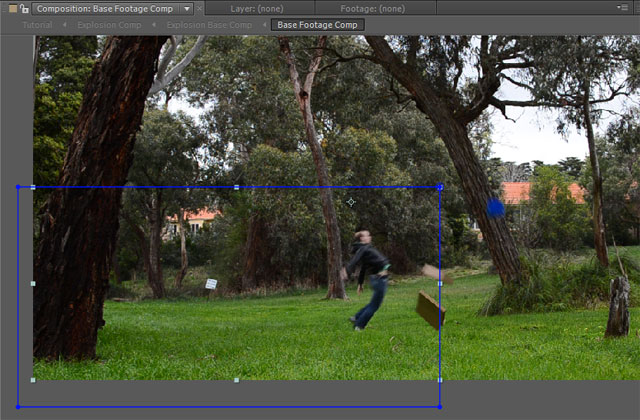
One thing to make your explosion look more realistic is to create a few elements that will be flung out away from the centre of the detonation. Let’s look at how we can do that!
Dynamic Explosion Elements
This step, in my opinion, has the biggest impact on making your effect look realistic!
We want the explosion to push elements out of the way, to have some actual power.
For this, film yourself throwing or pulling or pushing any elements around the centre of explosion out of the way as if they were hit by the shockwave. I like actually adding a few loose elements that I can then fling around, e.g. I added the cardboard box, the bucket and a few pieces of wood :)
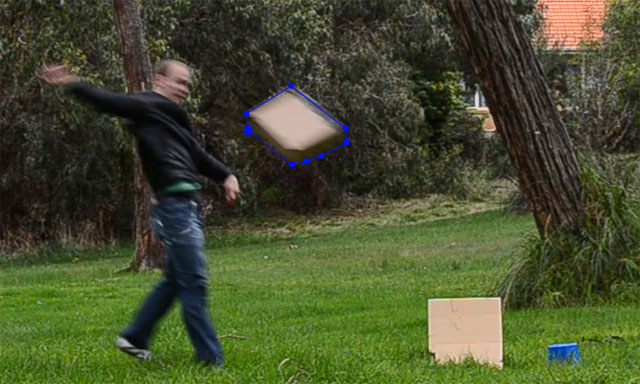
Then, mask out these elements using animated masks (or the rotobrush tool) and add them on top of your footage at the correct point in time. This will make them seem to be flung away by the pressure of the explosion.
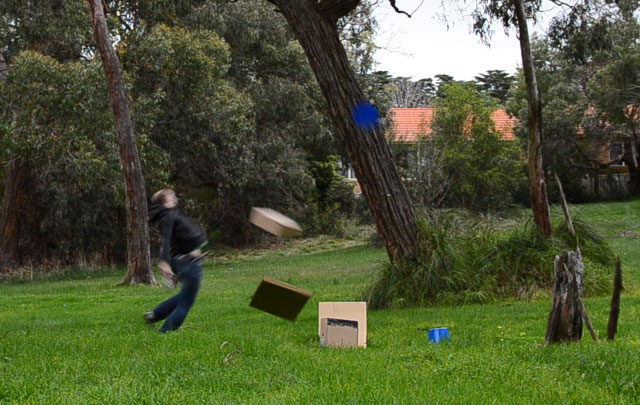
In the shot above you see the cardboard and buckets still standing on the ground even though we see the masked out elements flying away. At the moment of the explosion you will need to cover up the elements standing on the ground so it doesn’t look like they are duplicating.
For this, you can simply use a shot of your scene without any elements in it. Mask out the area around your dynamic elements and place this ‘cover up’ layer on top of your jump footage and underneath all the dynamic elements. Ensure the layer becomes visible the moment all the dynamic elements do.
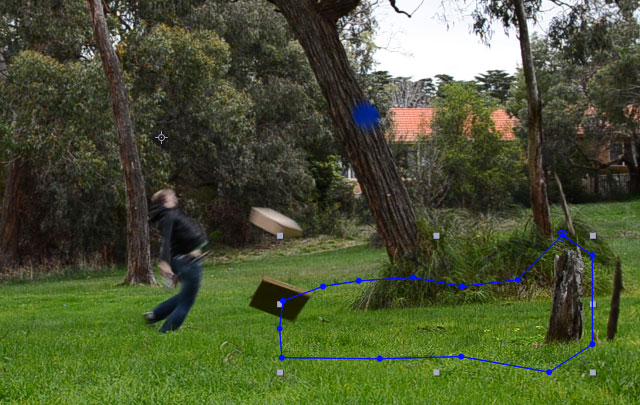
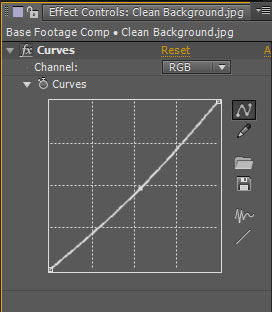
If your cover up layer does not sit right in the shot – in my case the lighting had changed slightly from when I started filming – you can fix this by adding a simple curves adjustment to the layer :) I brought the brightness down just a touch to make it sit nicely in the scene.
Pre-compose all layers by selecting them all and selecting Layer -> Pre-compose. Select to move all attributes into the new composition and click OK.
Explosion Stock Footage
Next, add your explosion stock footage element!
I like to trim off the first few frames of these elements usually just so the explosion appears a bit more instantaneously and thus conveys a little more power.
Cut out any elements that would obscure your explosion. I have cut out the tree trunk and a little bit of the ground to make the stock footage appear to sit on the ground.
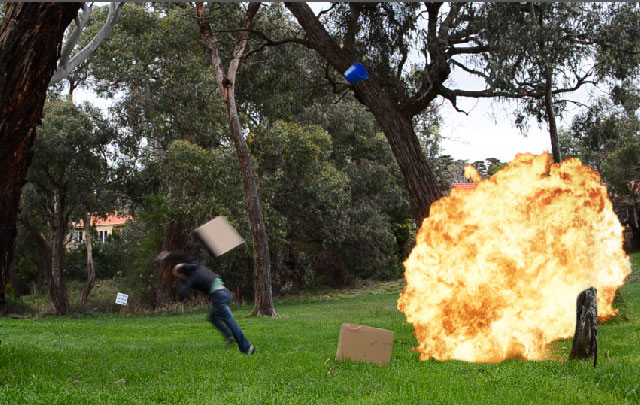
Add a glow effect and increase the radius to somewhere around 200 so the stock footage gets a nice intense glow.
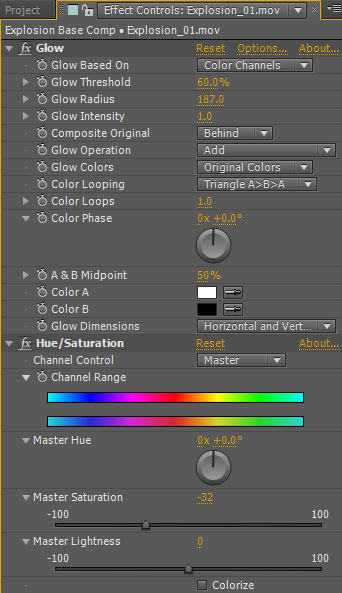
If required, add a saturation effect to your explosion stock footage to blend it nicely into the scene. I brought the saturation down a little because the stock footage seemed a bit too red in my opinion :)
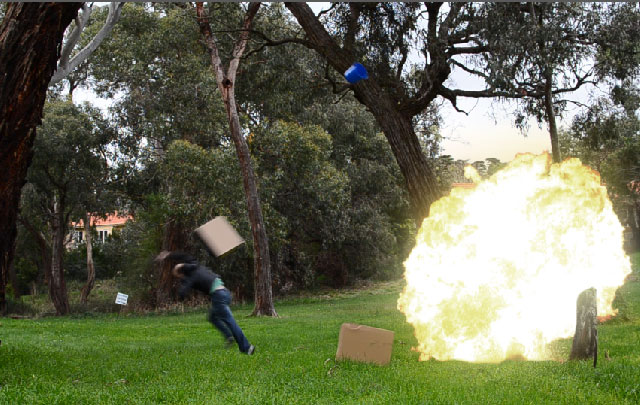
Again, pre-compose all layers.
Explosion Lighting
Next, add lighting to your explosion. I have already covered this topic in much detail in my How to Make Great Gun Fire Effects tutorial so check that out if you’re a bit rusty on the topic :)
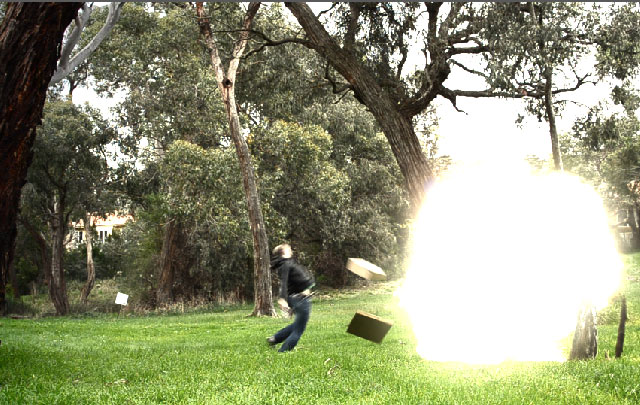
Make sure the intensity and duration of the lighting matches your explosion :)
Now let’s add a cool shock wave to the explosion!
Explosion Shockwave
Next, we’re going to add a shockwave effect, pushing out very quickly from the centre of the effect.
For this add an adjustment layer, apply a bulge effect to the layer and move the bulge centre to the centre of your explosion.
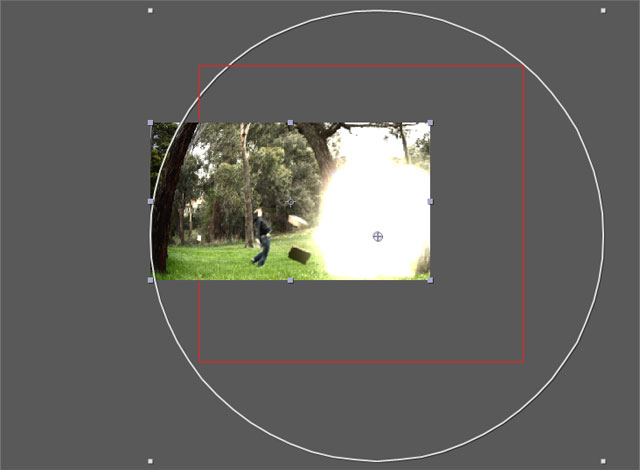
Increase the horizontal and vertical bulge radius to as far as you want the shockwave to reach. This bulged layer will shortly become visible underneath our shockwave matte which we will create next.
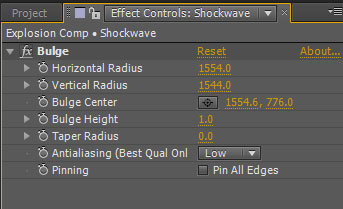
Create a new solid and place it directly above your adjustment layer. Add an iris effect to the layer and increase the iris points to the maximum (for me that is 32) to make it as round as possible. To create a ring around the opening of the iris, add a colorama effect, set the input to alpha and the output to ramp grey. Then drag the white colour selector on the colour wheel to 6 o’clock and add two black markers around 11 and 1 o’clock respectively.
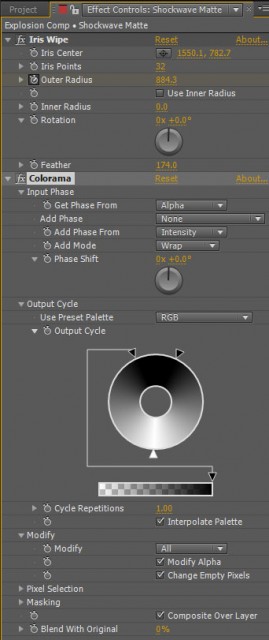
You should see a nice white ring on your shockwave matte :)
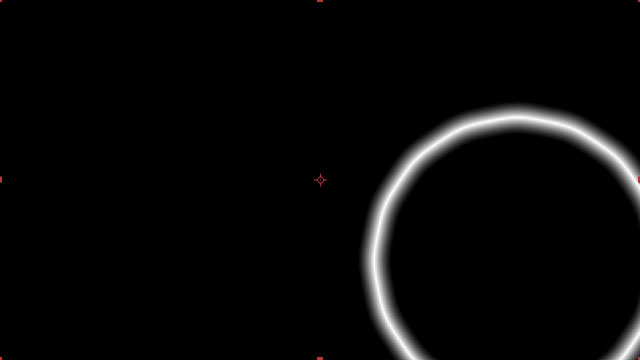
Next, animate the outer radius of your iris so this ring expands away from the explosion centre like a shockwave in around 10-15 frames. Additionally, keyframe the opacity of this white ring to go from 100% to 0% as it expands. Ensure the layer starts exactly at the moment the explosion kicks in.

Then set the Track Matte option on the adjustment layer with the bulge effect to Luma. This tells the adjustment layer to derive its opacity from the brightness in the layer directly above. Notice that our solid with the animated ring has become invisible, but that instead we can now see a bulged shockwave on the screen :)
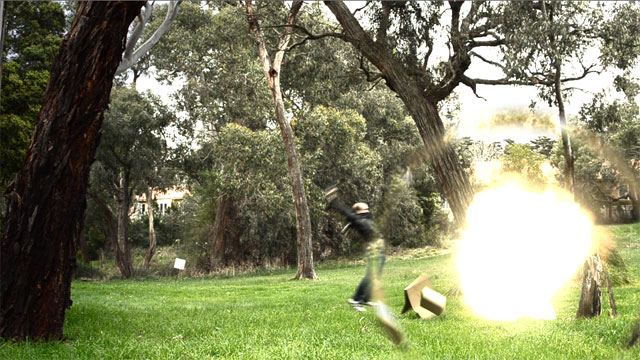
Finally, we can add some camera shake to the explosion effect using a simple expression in Adobe After Effects!
Adding Camera Shake
The last thing to add to our effect is a little camera shake to give the explosion some more impact.
For this, pre-compose all your layers again so we have a single layer element we can deal with easily :)
To create the camera shake effect, we will shake the layer itself.
For this, add a slider Expression Control to your layer.
If you don’t know what expression controls are, you can learn all about these helpful tools in my Adobe After Effects Expression Controls Tutorial :)
Next, go to the position property of the layer and Alt-Click on the stopwatch icon. This will enable expressions for this property.
In the expression editor type
wiggle(18,
and then select the pick whip icon and drag it onto the slider effect we added before. This will insert the value of the slider into the expression. Add a closing bracket, a semicolon and click outside of the expression editor. Your expression should now read
wiggle(18, effect("Slider Control")("Slider"));
We have now linked the intensity of the wiggle effect to the value of the slider.
Next, animate the value of the slider from 0 to 50 within 2 frames when the explosion starts and then back down to 0 in about 15-20 frames.
This will cause the footage to shake intensely at the moment of explosion and then slowly subside.

The last thing to do is to enable motion blur on the layer and your composition and zoom in a little bit to get rid of any black borders around the layer :)
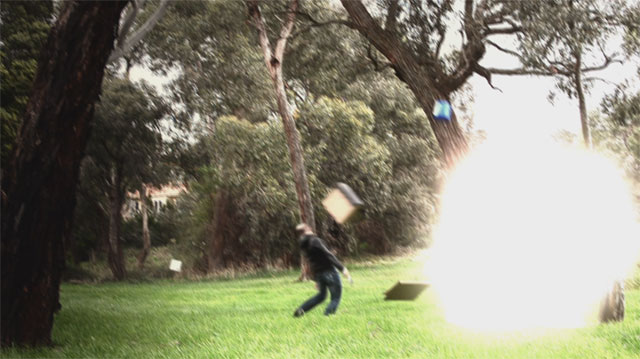
And with that, your explosion VFX is complete!
BOOM!


8 Responses
You, my man from down under, are second only to Andrew Kramer! Keep up the good work.
Thank you very much :) I feel very honoured! I’m a huge fan of Andrew Kramer and the great work they are doing at videocopilot.net
nice tut …keep it up ur good tuts…now i m daily member of ur site after videocopilet :D
Thanks man! That means a lot, I have a lot of respect for videocopilot :)
thank you very much for the video that you had been posted… It helps a lot… =D
Thank you very much! Glad to hear you found the tutorial helpful!
Please Update the download link
The download links have been updated 😊