In this tutorial I will show you how you can create cool (or creepy) character animation with the Puppet Tool in Adobe After Effects. The Puppet Tool is very useful for adding animations to a static image and is primarily useful if you want to breathe life into a character without doing it frame by frame.

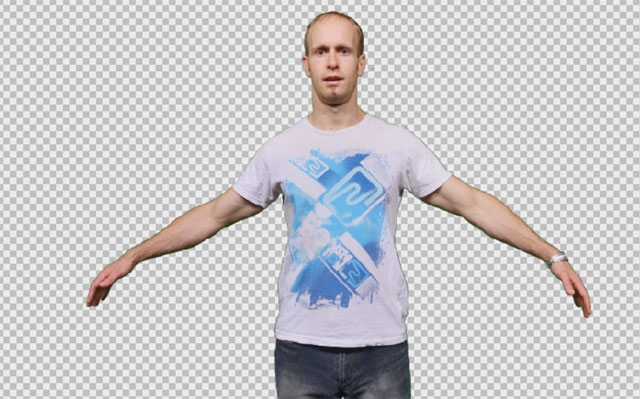
If you want to follow along with this tutorial, feel free to follow the PNG I created of me, cut out from the background. Simply click this link to download a clean cutout image you can use.
When animating your image, make sure you don’t have a solid background. The Puppet tool will use the outline of your image (as defined by its alpha channel) to detect the shape of the ‘puppet’ and figure out how to animate it. If the cutout of me had a solid background, moving my arms would also warp/deform the background since After Effects could not determine where I end and the background starts.
The Puppet Tool consists of 3 separate controls: the puppet pin tool for placing joints, the puppet starch tool for defining how (in)flexible certain parts of your image are and the puppet overlap tool to control how After Effects will handle parts of the puppet overlapping with itself. You have access to all of these tools via the Puppet Tool button in the toolbar.

Let’s look at these controls one at a a time and use them to animate the cutout image of me.
The Puppet Pin Tool

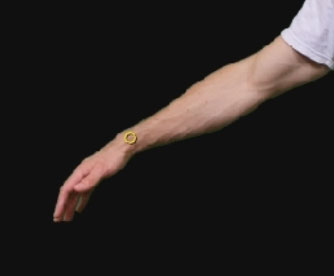
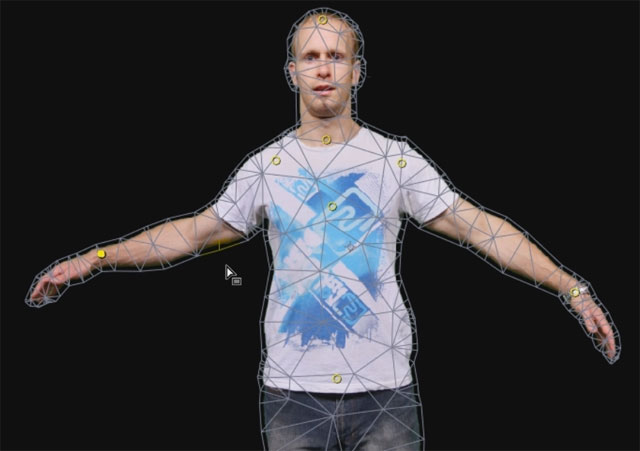
The first thing you need to do to add animation to your image is place a number of pins on it. These pins define the joints that After Effects will apply to your picture. To place a pin simply select the Puppet Pin Tool, ensure your layer is selected and click directly onto the image. A small yellow circle will be be visible to indicate the location of a pin.
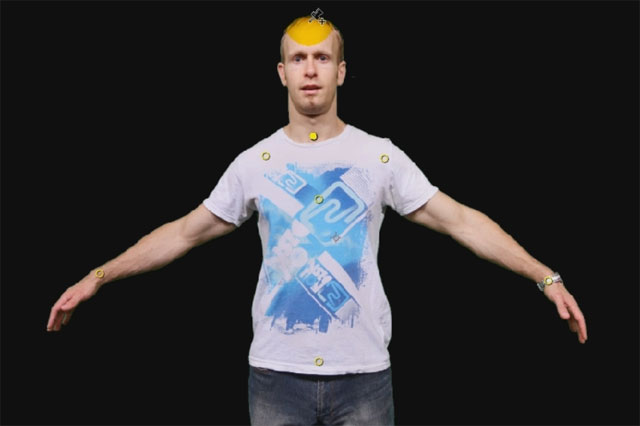
To animate the cutout image, I have placed pins on my wrists, shoulders, collar bone, lower stomach, sternum, throat and head. Each of these pins allows me to control how the image moves at those joints.
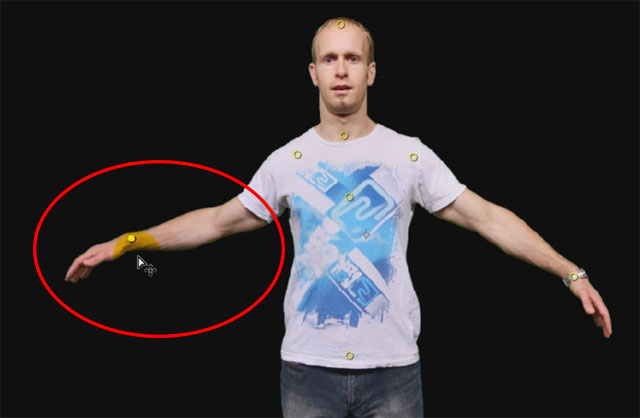
Once you placed all of your pins, you can grab the pins and drag them around to change the pose of your puppet. After Effects will automatically deform the image as best as it can based on where the joints are located.
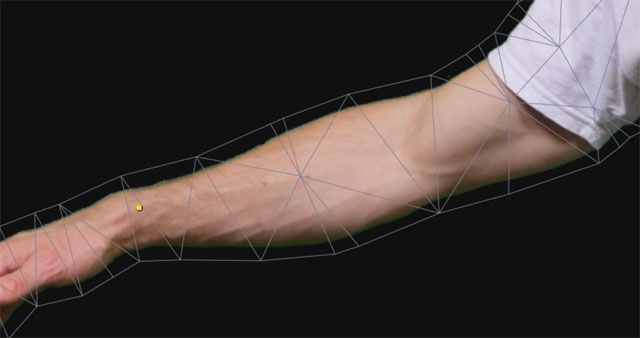
To determine how to deform your puppet, After Effects uses a Deformation Mesh. You can show this deformation mesh by checking the ‘Show Mesh’ checkbox in the Puppet Pin toolbar.

The deformation mesh for the puppet pin tool will be overlayed onto your image in the preview window.
When you move a pin around, After Effects uses this mesh to deform your image based on all the joints you added to your puppet. You can adjust the expansion and control how many triangles the mesh contains to make sure it covers your image adequately. Note that in this screenshot, the expansion property is set to 15 so the mesh has a 15 pixel border around the outline of the puppet.
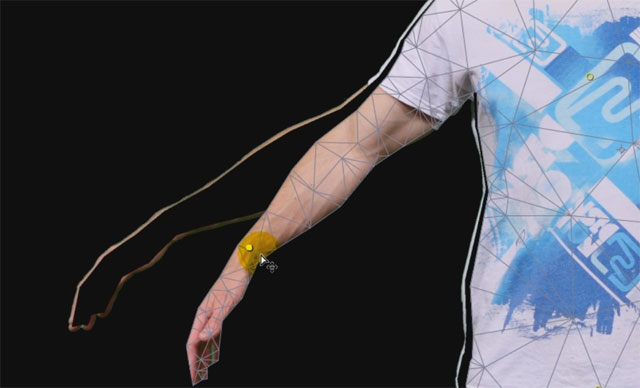
This is why it is important to have an alpha channel defined for your image and have your puppet properly cut out. If the image had no alpha channel, the deformation mesh would simply cover the entire contents and any movement of the joints would simply deform the entire image – background included.
To ensure you use the right Expansion value, you want the deformation mesh to fit tightly around the shape of your puppet, but not cut into it. If you lower the Expansion property by so much that it does not cover all of our puppet, moving the pins will leave a strange outline behind as shown in the following screenshot.
So make sure you configure our deformation mesh correctly. If something unexpected happens, reveal it and deal with any problems as appropriate. Now let me show you the most amazing way to animate your puppet once you have placed your pins!


5 Responses
bon
Could you please let me know how you did the strings?
They are 2 simple Strokes along a line (mask) and then tracked to the movement of my hands :)
Dear Tobias,
Thank you for the tutorial. How to animate the eyelids and the mouth?
Hi Samuel,
I animated the eyes and mouth using motion sketch and converting audio to keyframes. I have tutorials for How to use Motion Sketch in Adobe After Effects and How to Convert Audio to Keyframes in Adobe After Effects that you can check out :)