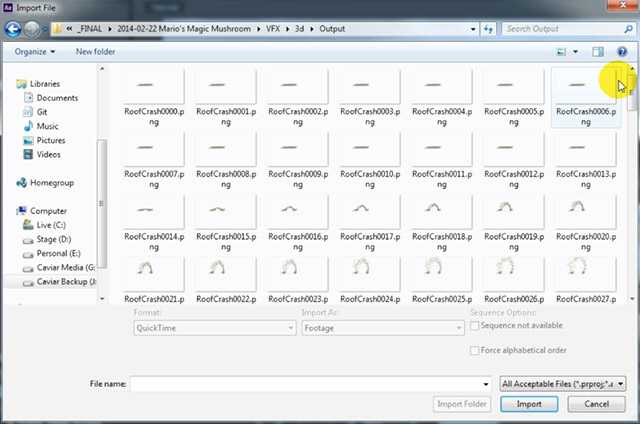
After exporting my destruction scene from Cinema 4D, I ended up with a folder containing the frames for my animation as PNGs with alpha transparency. You can clearly see the roof tiles and how they are being smashed in from below.
Import the exported frames (or the video if you exported your project as a video) into Adobe After Effects.
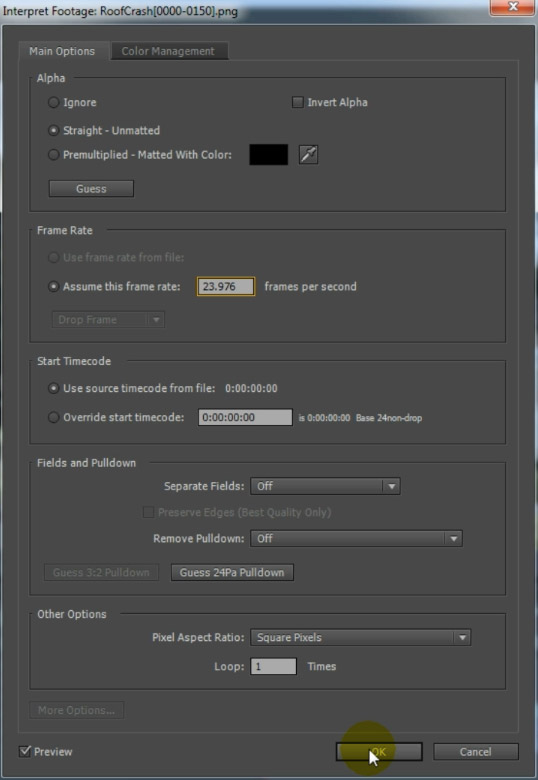
Right click the imported clip and select ‘Interpret Footage’ from the context menu. In the interpret footage popup box, ensure that the frame rate is set to match your footage and set the Alpha option to ‘Straight – Unmatted’. Then click OK.
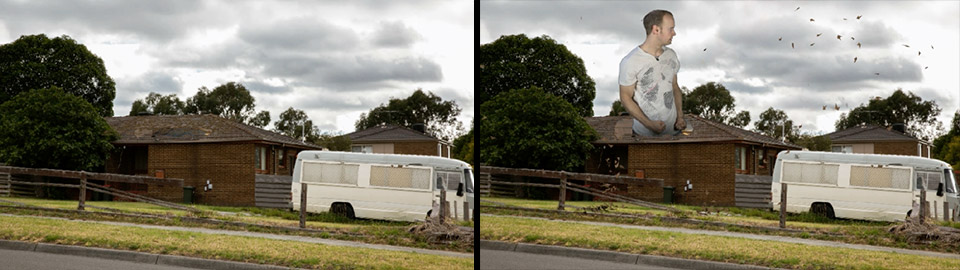
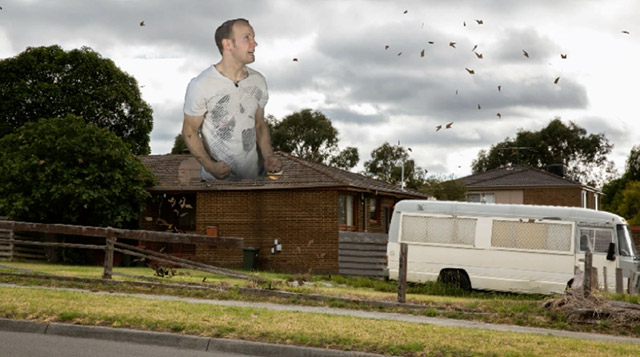
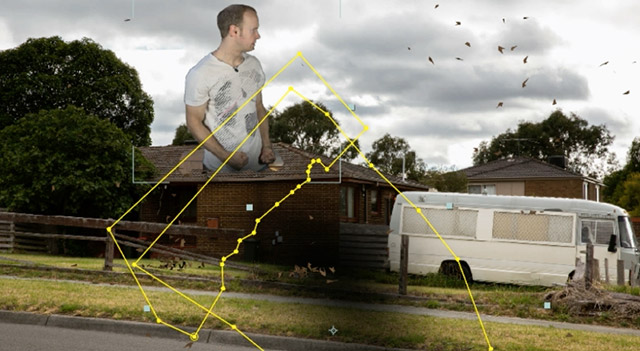
Finally, drag the rendered elements into your scene and position them to time them with the giant crashing through the roof. I placed my RoofCrash layer above the base elements but below the debris stock footage.

If you play back your scene now you should see the effect we created in part 1 of this tutorial and you should see the roof tiles flying around the scene with realistic physics. Pretty cool!
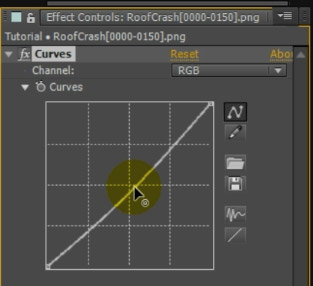
Now of course, the rendered elements might not sit perfectly in your scene and so you will likely have to perform a few simple colour adjustments to the roof tiles. I applied a Curves effect to my RoofCrash layer and brought down the brightness by a little bit.
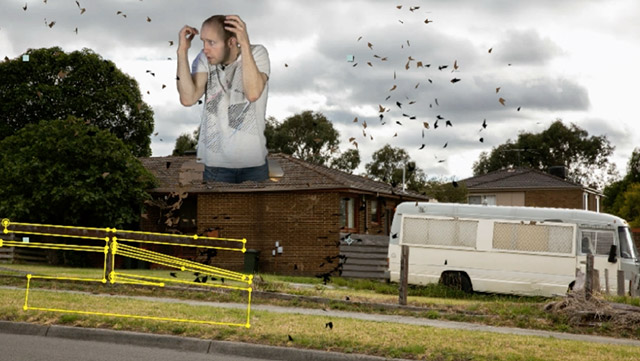
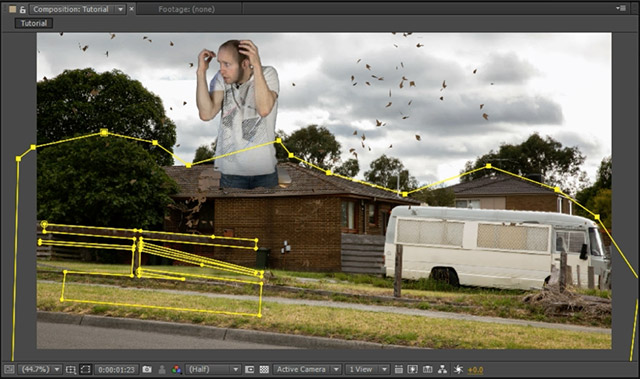
Also, since we have tiles sliding off the roof and falling on the ground, we want to make sure that these tiles fall ‘behind’ any foreground elements in the scene. There is a fence standing in the front of the house and you will need to add masks onto the RoofCrash layer, outlining any foreground elements. I added a number of masks around the shape of the fence and one larger mask onto the ground in front of the fence.
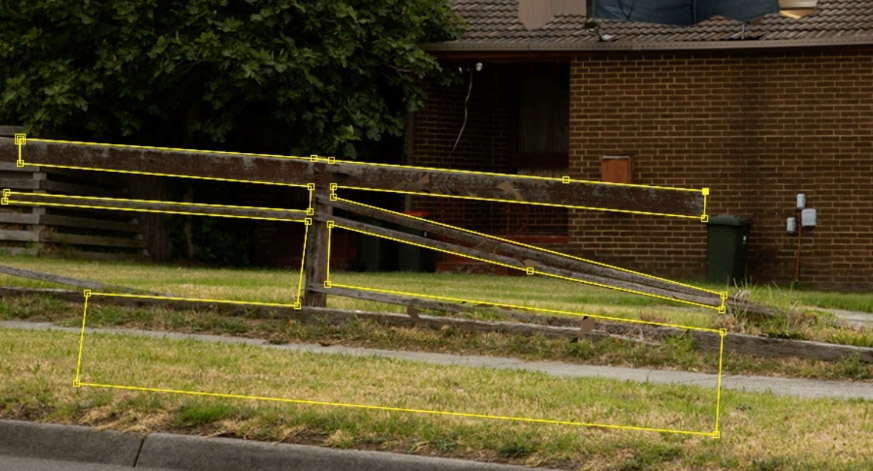
Set the mask mode for these foreground masks to ‘Subtract’ to cut out any tiles that appear in front of the fence. Playing back the composition now, the roof tiles will fall behind the fence.
To finish off the roof destruction effect, let’s add a few simple shadows to blend the roof tiles and the giant a little bit more realistically into the scene!
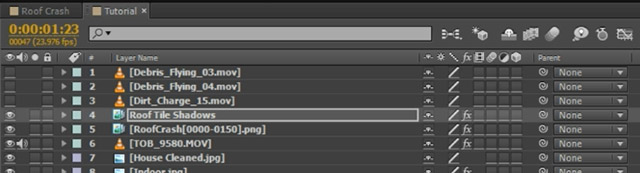
For that, duplicate the roof tiles layer. I called this copy ‘Roof Tile Shadows’. Drag the contents of the layer in your preview window to offset the shadows from the actual roof tiles. Depending on your scene, you might want to also rotate the layer slightly to make it seem like the shadows are mostly falling onto the ground.
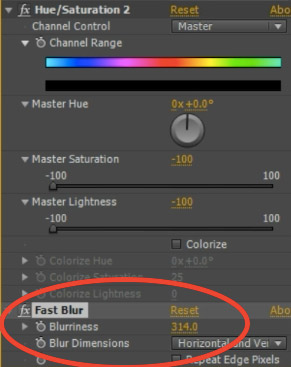
Apply a Hue/Saturation effect to the shadows layer and bring down the Master Saturation and Master Lightness to -100.

This will make the roof tiles shadow layer appear fully black.
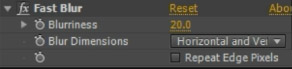
Now apply a Fast Blur effect to the Roof Tile Shadows layer and bring up the Blurriness. This will soften the shape of the black tiles and blur them out into something that looks like shadows.
Finally, add a few masks onto the shadows layer to ensure that no shadows are being cast onto the sky.
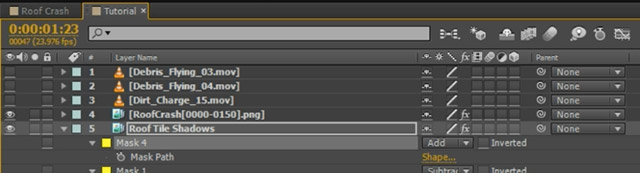
I added a large additive mask around the area of my scene where I did want the shadows to show up. I also decreased the Opacity of the shadows layer to around 30 to make the shadows less visible. We just want to add a small illusion of shadows to make the rendered roof tiles blend a bit better into the scene.
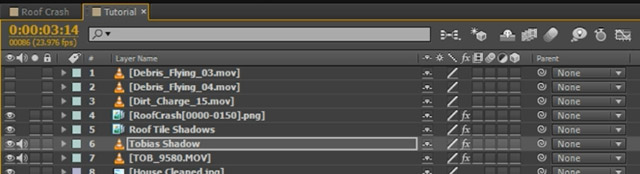
Since we are already adding shadows, we can use the exact same technique to create a shadow for the giant crashing through the roof. Duplicate the Giant layer. I called this copy ‘Tobias Shadow’
Apply a Hue/Saturation and a Fast Blur effect like we did before to create a large dark shadow.
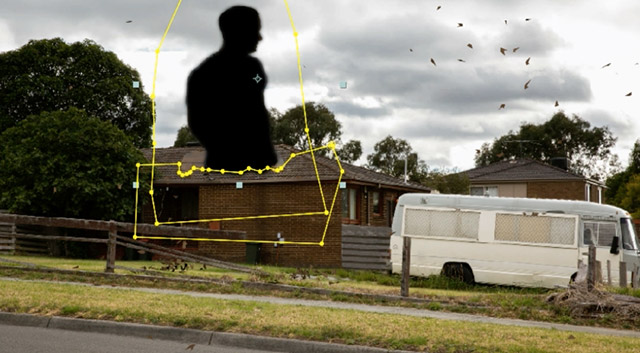
Add a Fast Blur effect to the layer. I jacked up the Bluriness of the Fast Blur effect pretty drastically to eliminate the actual shape of the giant shadow. I don’t want it to be too distinguishable or the viewer might see that it’s just a copy of the Giant layer.
Rotate and offset the shadow to fall onto the scene. There is no direct sun in my scene, but most shadows seem to be falling towards the right and so I aligned my shadow layer to fall towards the right side. I also lowered the opacity a fair bit to make the shadow blend a bit better into the scene.
And with that we are done with our roof crash destruction effect!

I have shown you how to green screen a Giant and make them smash through the roof. We then created some 3D destruction elements with realistic physics in Cinema 4D and integrated them back into our scene using Adobe After Effects.
The very same technique can be used for a lot of different destruction VFX! Shoot your scene, add some basic stock footage elements and then integrate 3D elements to finish off your destruction effect!
I hope you enjoyed this tutorial and will have fun using this technique for all sorts of awesome stuff!


2 Responses
you guys are great thanks so much
Thank you for the comment!