Compositing The Giant
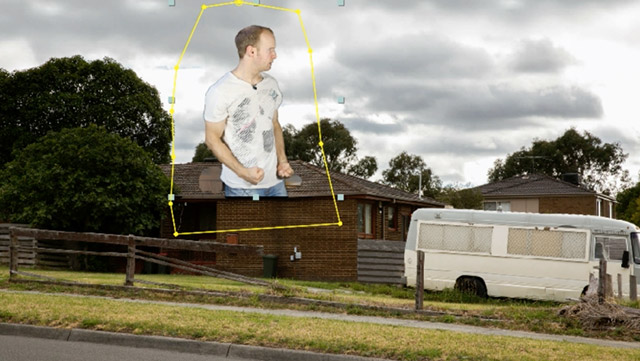
Now that we’ve properly green screened our clip, we can position it in the scene just above the hole in the roof.
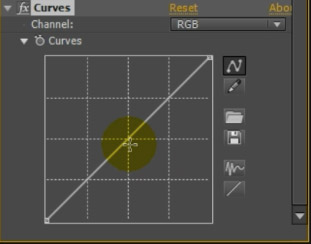
If your clip does not fit into the shot because it is too bright or too dark, you can use some simple Colour Correction Techniques to blend it in a little bit more realistically. Since my Giant clip is a little bit too bright for the background, I applied a simple curves effect and brought down the mid tones by a touch.
I also applied a Hue/Saturation effect and reduced both the Master Saturation and the Master Lightness to blend the giant a little better into my shot.
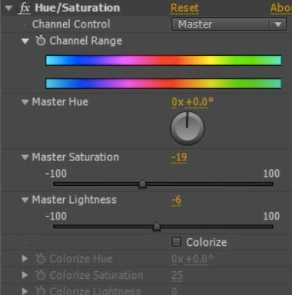
This looks much better, the two clips seem to match properly now.

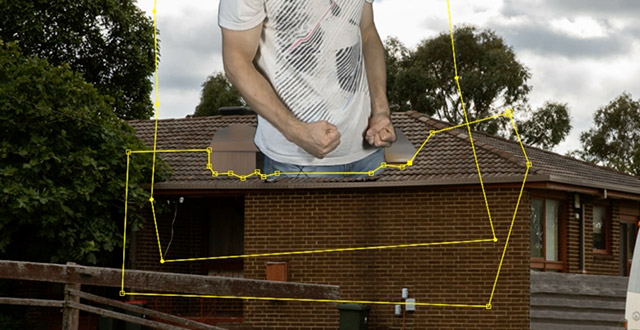
You may have noticed that my legs are still sitting on top of the roof even though they should be coming from ‘inside’ the house. We can fix this by applying a simple subtractive mask to the Giant layer that follows the shape of the lower edge of the hole in the roof.
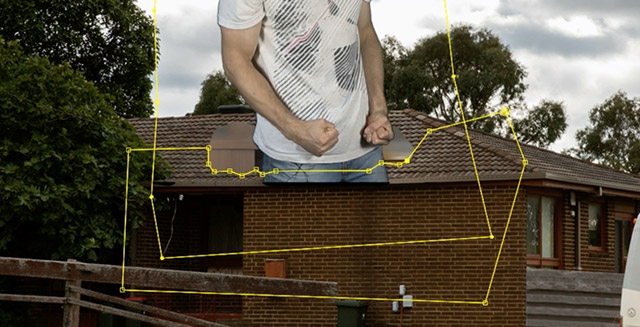
Remember to set your mask mode to Subtract.
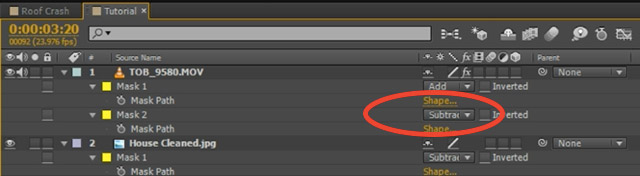
This will make it look like the Giant is emerging from inside the house.
Another little trick that will enhance the effect of the person standing in the house is to add a little shadow around the legs just where they are poking thorough the hole. There are a couple of options, for this tutorial I will use the 4-Color Gradient to achieve this effect. Apply the 4-Color Gradient to the Giant layer.
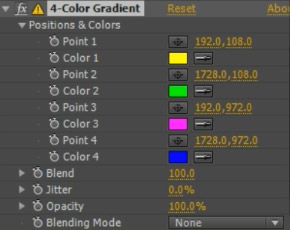
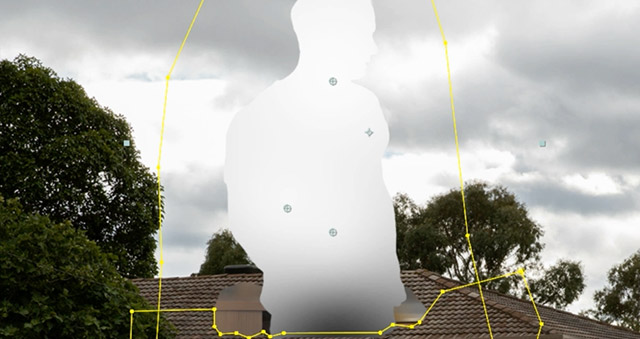
With the default settings, your image will now look like something out of an Apple commercial.
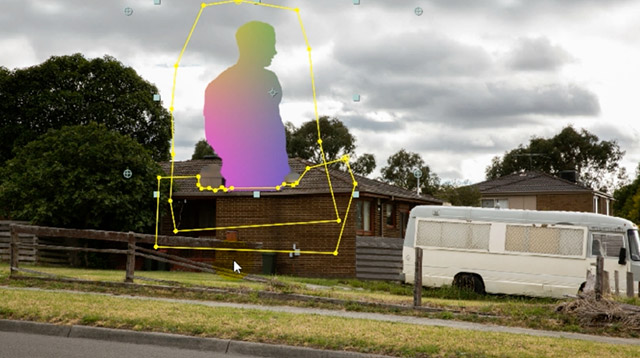
The gradient flows between the 4 points that you can define in the 4-Color Gradient effect. Set the colour for the first 3 points to white and the colour of Point 4 to black. Position the points so that the black area sits just where the Giant is poking through the hole.
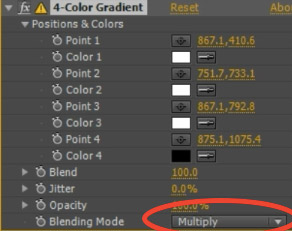
To apply this drop shadow properly onto your Giant layer, set the Blending Mode of the 4-Color Gradient effect to ‘Multiply’.
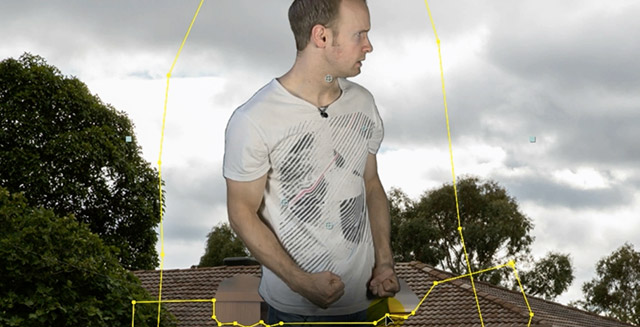
The drop shadow is fairly subtle, but it helps sell the effect of the person crashing through the roof from the inside of the house.
We’re finally ready to add some destruction elements to the roof destruction effect!


