Adding the Gunfire Lighting
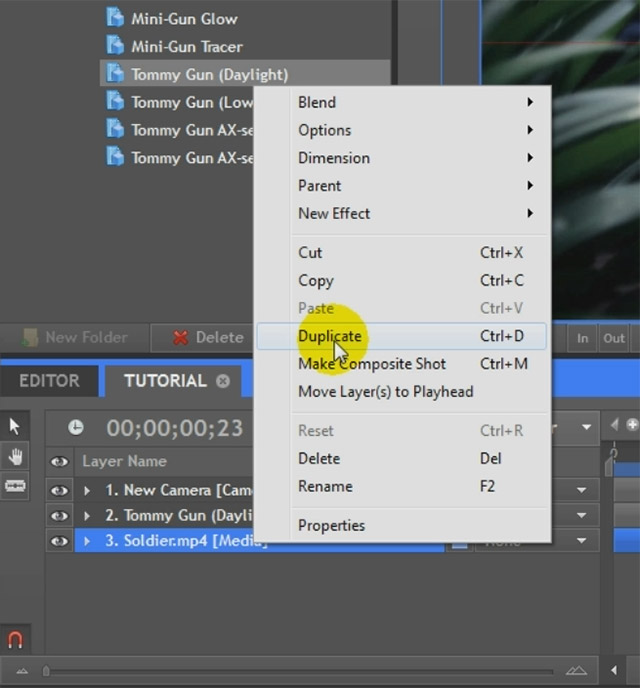
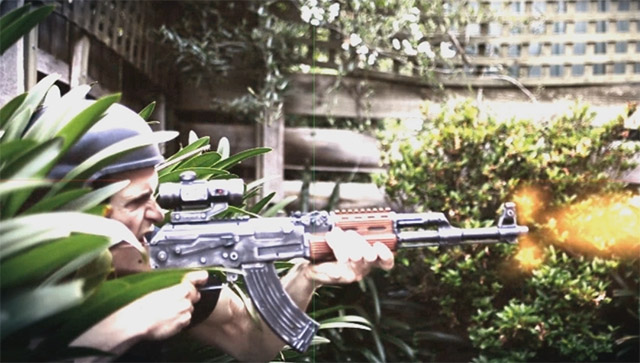
Now that we placed the muzzle flash into our scene it’s time to add some lighting to make it look a bit more realistic. For this, duplicate your base footage layer by right clicking it and selecting ‘Duplicate’ from the context menu.
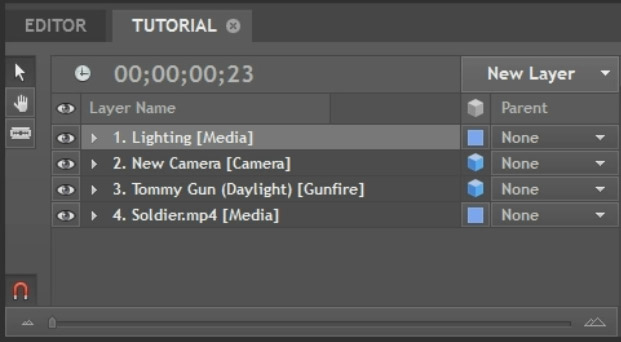
Rename the copy of the layer to ‘Lighting’ and move it to the very top of your composite shot. You will no longer be able to see your gunfire effect, but we will fix that up in a second.
With the Lighting layer selected, go over to the Effect Controls on the left hand side of the interface. Open up the Layer Properties tab and set the Blend property to ‘Add’.
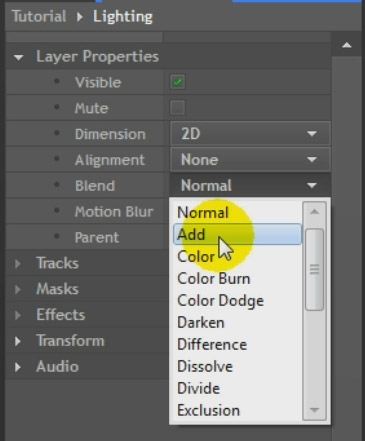
This will composite the Lighting layer in an additive blending mode on top of your gunfire effect. Your scene should suddenly have gotten a whole lot brighter.
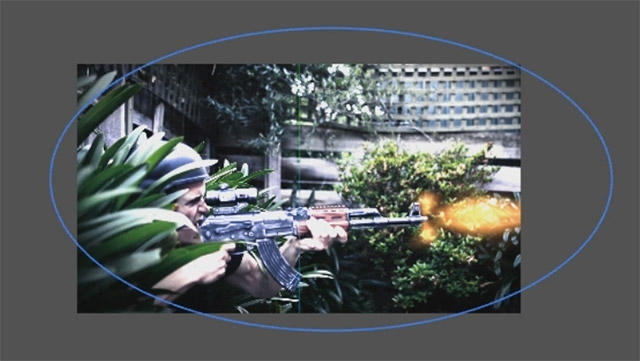
Next, use the masking tools on the left side of the preview window to mask out only the areas of your shot that you want to receive lighting. You can go quite detailed with this for more realism, but for the sake of keeping this quick, I just added a large elliptical mask over my entire scene. Go over to the mask properties in the Effect Controls panel and add some mask feather to soften out the edges.
Next, we want to tint the lighting layer to match the colour of the muzzle flash. Go to the Effects panel, search for the ‘Levels Histogram’ effect and apply it to the Lighting layer. Go over to the Red channel and bring its intensity up a little bit. Then go into your Green colour channel and increase the green colour to tint the Lighting layer nice and yellow to match your gunfire.
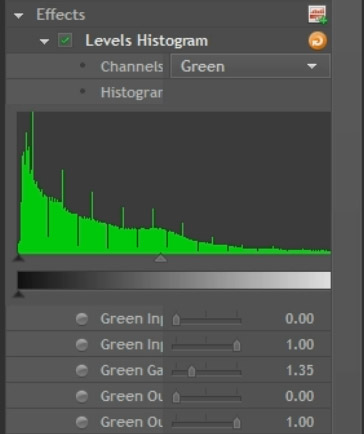
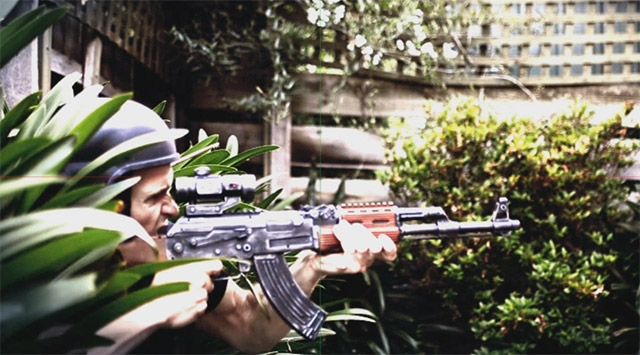
You should now have a very strong yellowish highlight everywhere where you added a mask on the Lighting layer.
To make the lighting pop a little bit more, I also added a Brightness & Contrast effect to the Lighting layer and jacked up the Contrast property.
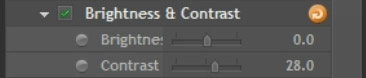
Feel free to tweak this to your liking, I just felt this gave the scene a bit more of a dramatic look.
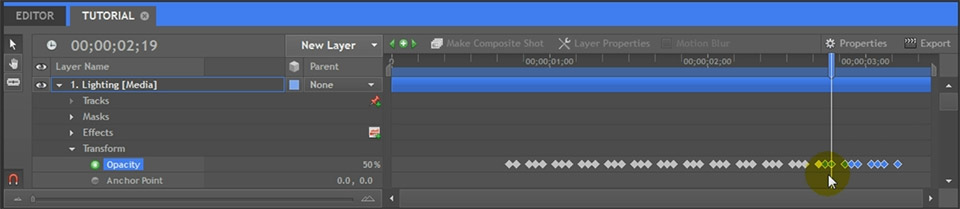
There is however one last issue with the gunfire lighting: it is visible all the time. We want the lighting to only be visible for a frame or two right when the gun is fired. For this, go over to the Controls on the left side and enable keyframes for the Opacity property on the Lighting layer by clicking on the grey circle to the left of the property. Then, using the timeline window like we did before, step through your composite shot and animate the Opacity to come in and out to match with the timing of your gunfire.
Whenever the gunfire was visible I set the opacity to around 50%, then moved forward 2 frames and set it back down to 0%. I wanted to give the Lighting layer a fraction of a second to fade away rather than vanish instantaneously.
And with that we’re done with the final effect!

Let me quickly show you how to export your finished project from HitFilm 2 so you can share it with the world!


