Adobe After Effects Quick VFX – Blood Smear
Since my tutorials tend to be rather long, I decided to start a tutorial series called ‘Quick VFX’. In this series I will be showing you awesome visual effects that you can create quickly and easily in After Effects!
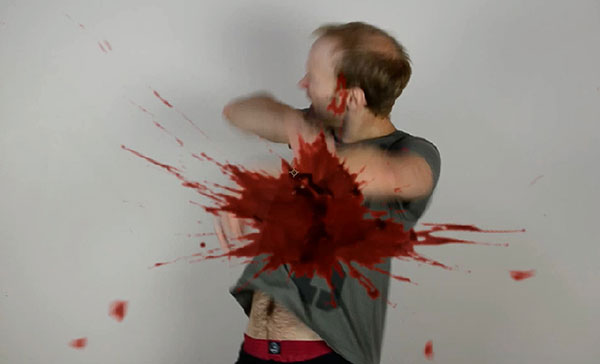
This first Quick VFX tutorial is in response to everyone asking me how I created the blood smear effect in my After Effects Bullet Hit Tutorial. This is the blood smear effect we will be creating in this tutorial.

Creating the Initial Blood Hit Effect
All you need to create this effect is your actor pretending to be hit by a bullet while standing in front of a wall. I took a simple clip of myself up against a wall.

One thing I like to do for any sort of bullet hit effects is to apply a Time Remapping effect to the footage to speed up the moment of impact. Not only does it cover up my awful acting but it also makes the bullet impact look a lot more sudden and powerful.

I then pre-composed this layer (including the time remapping effect) and used it as my base footage for the bullet hit effect. I won’t cover every detail of the bullet hit effect here, if you are interested you can check out my full Adobe After Effects bullet hit tutorial. Here is the short version:
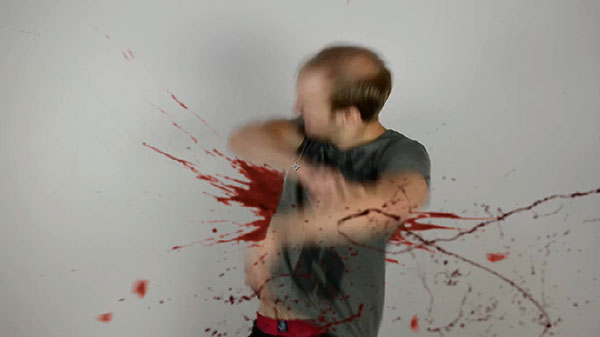
Place a blood hit effect you want to appear on the wall behind your actor on top of the base footage. Detonation Films has some great free blood hit stock footage elements that you can use for your own projects.
Since we do not want the blood to sit on top of our actor, but behind them on the wall, you will have to rotoscope them out for the duration of the bullet hit and blood smear effect. Duplicate your base footage and cut the actor out using either the Rotobrush tool in After Effects or animated masks.

By placing this layer on top of the blood hit, it will appear as if the blood sits behind your actor on the wall.
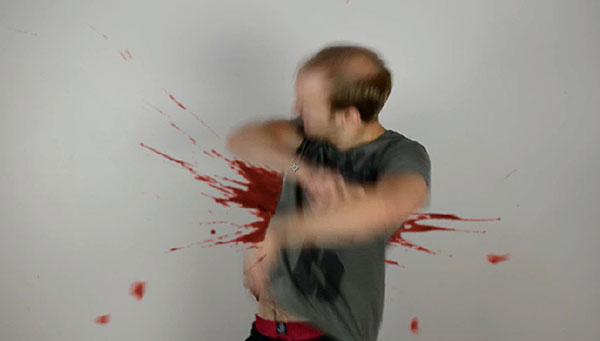
Add a blood burst effect on top of your actor to add some impact to the bullet hit effect.
I duplicated this blood burst layer, darkened it and blurred it out so I could place it behind the actor to simulate a simple shadow for the flying blood. This will add some depth to the effect.
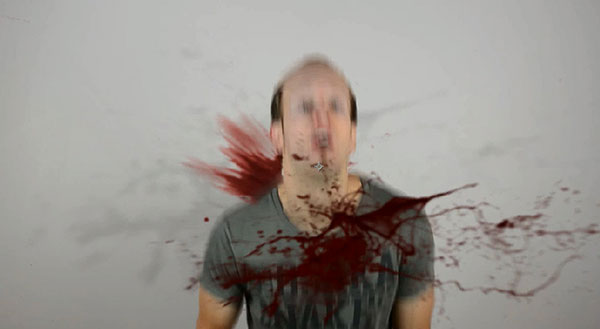
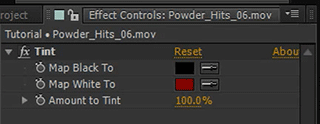
Finally I added a small smoke puff effect on top of all my layers and tinted it red so it looks like a fine blood mist that shoots out when the bullet strikes.
I also added a simple gun lighting effect as I did in my After Effects gunfire tutorial. Here is a screenshot of the final composition in Adobe After Effects. Feel free to tweak this effect to your liking.

And we’ve completed the first part of the effect – the bullet hit.

It’s already quite a cool effect, but let’s get to what you’re actually here for: smearing the blood along the wall your actor slide down.


2 Responses
What is the difference between CC Smear and Smear? I can not find it anywhere.
If you have Adobe After Effects CC, then you will have CC Smear. It’s simply a newer version of the Smear effect